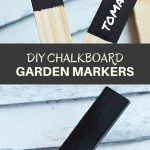
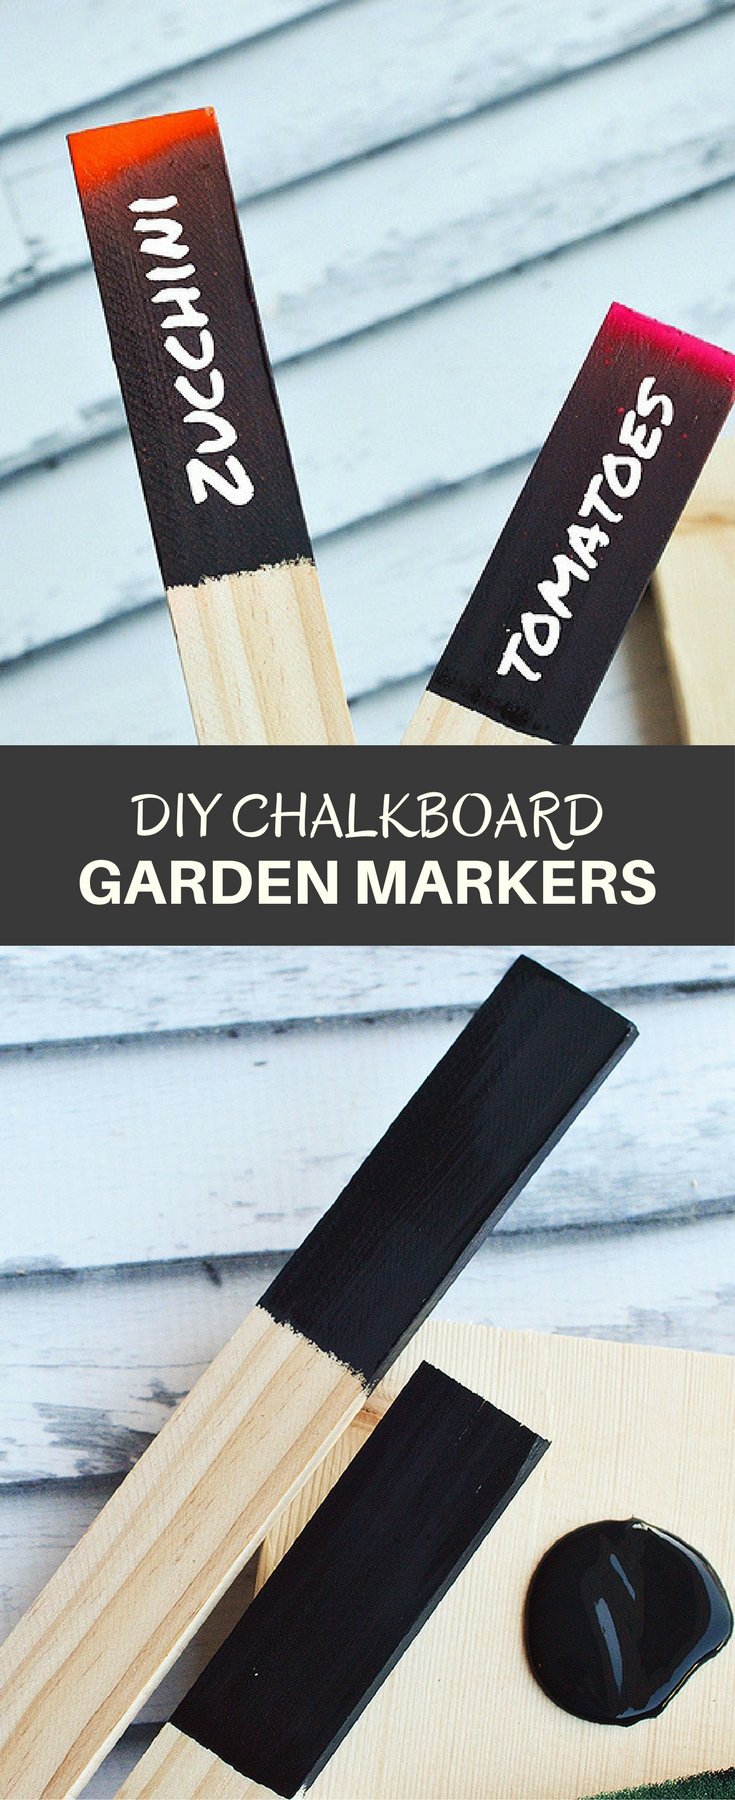
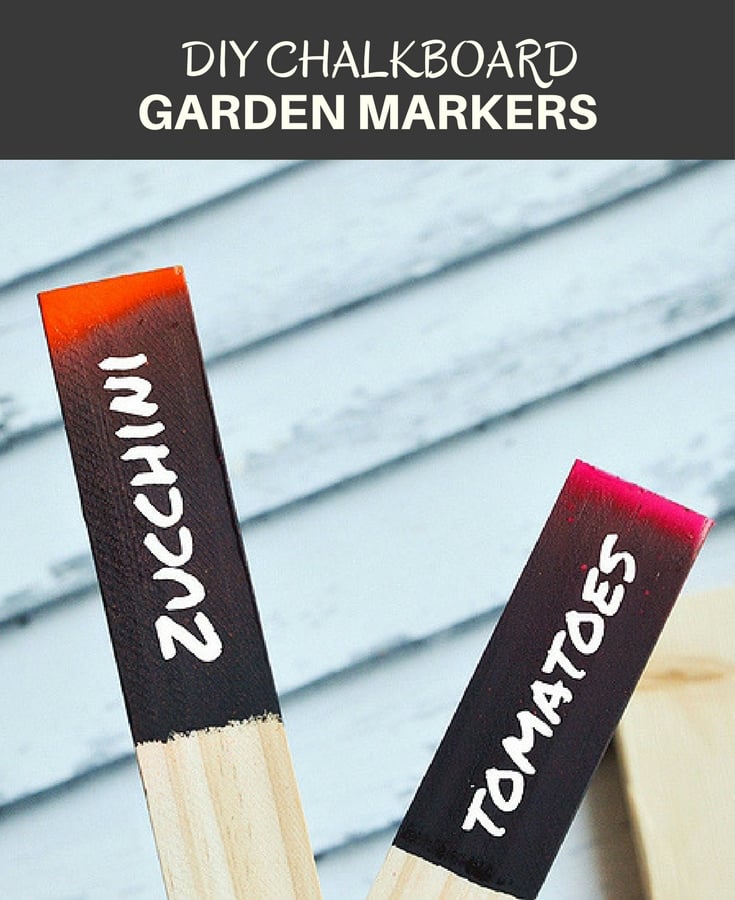
DIY Chalkboard Garden Markers make a cute addition to your garden! Made with sturdy wooden stakes and painted black chalkboard paint, they’re reusable year after year!
Spring has sprung! With all the pretty colors flying around and the warm air setting in, I thought to myself how nice it would be to start a garden. The condo doesn’t really have a big backyard but there’s just enough room for maybe a bed or two of herbs I regularly use for cooking and a few pots of tomatoes, summer squash, or red peppers.
I was so excited about the prospect of growing our very own vegetables at home, I spent hours scouring Pinterest on how to take a crack on this gardening stuff. As I can barely keep alive the orchids G gave me for Valentines’s day, I needed all the help I could get!
One idea that had me pumped up about my Spring project was DIY chalkboard garden markers! I have a few friends who go all out on their gardens each and every year, laying out their garden beds with garden markers in anticipation of nature’s bounty that is to come. They do, however, go through an obscene amount of wood making markers from season to season either because they’re growing a different set of plants and the labels on garden markers no longer apply or the markers are too worn out from the outside elements to reuse.
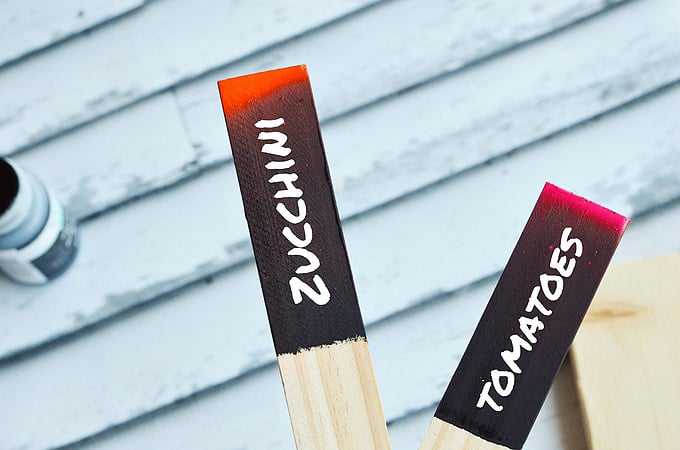
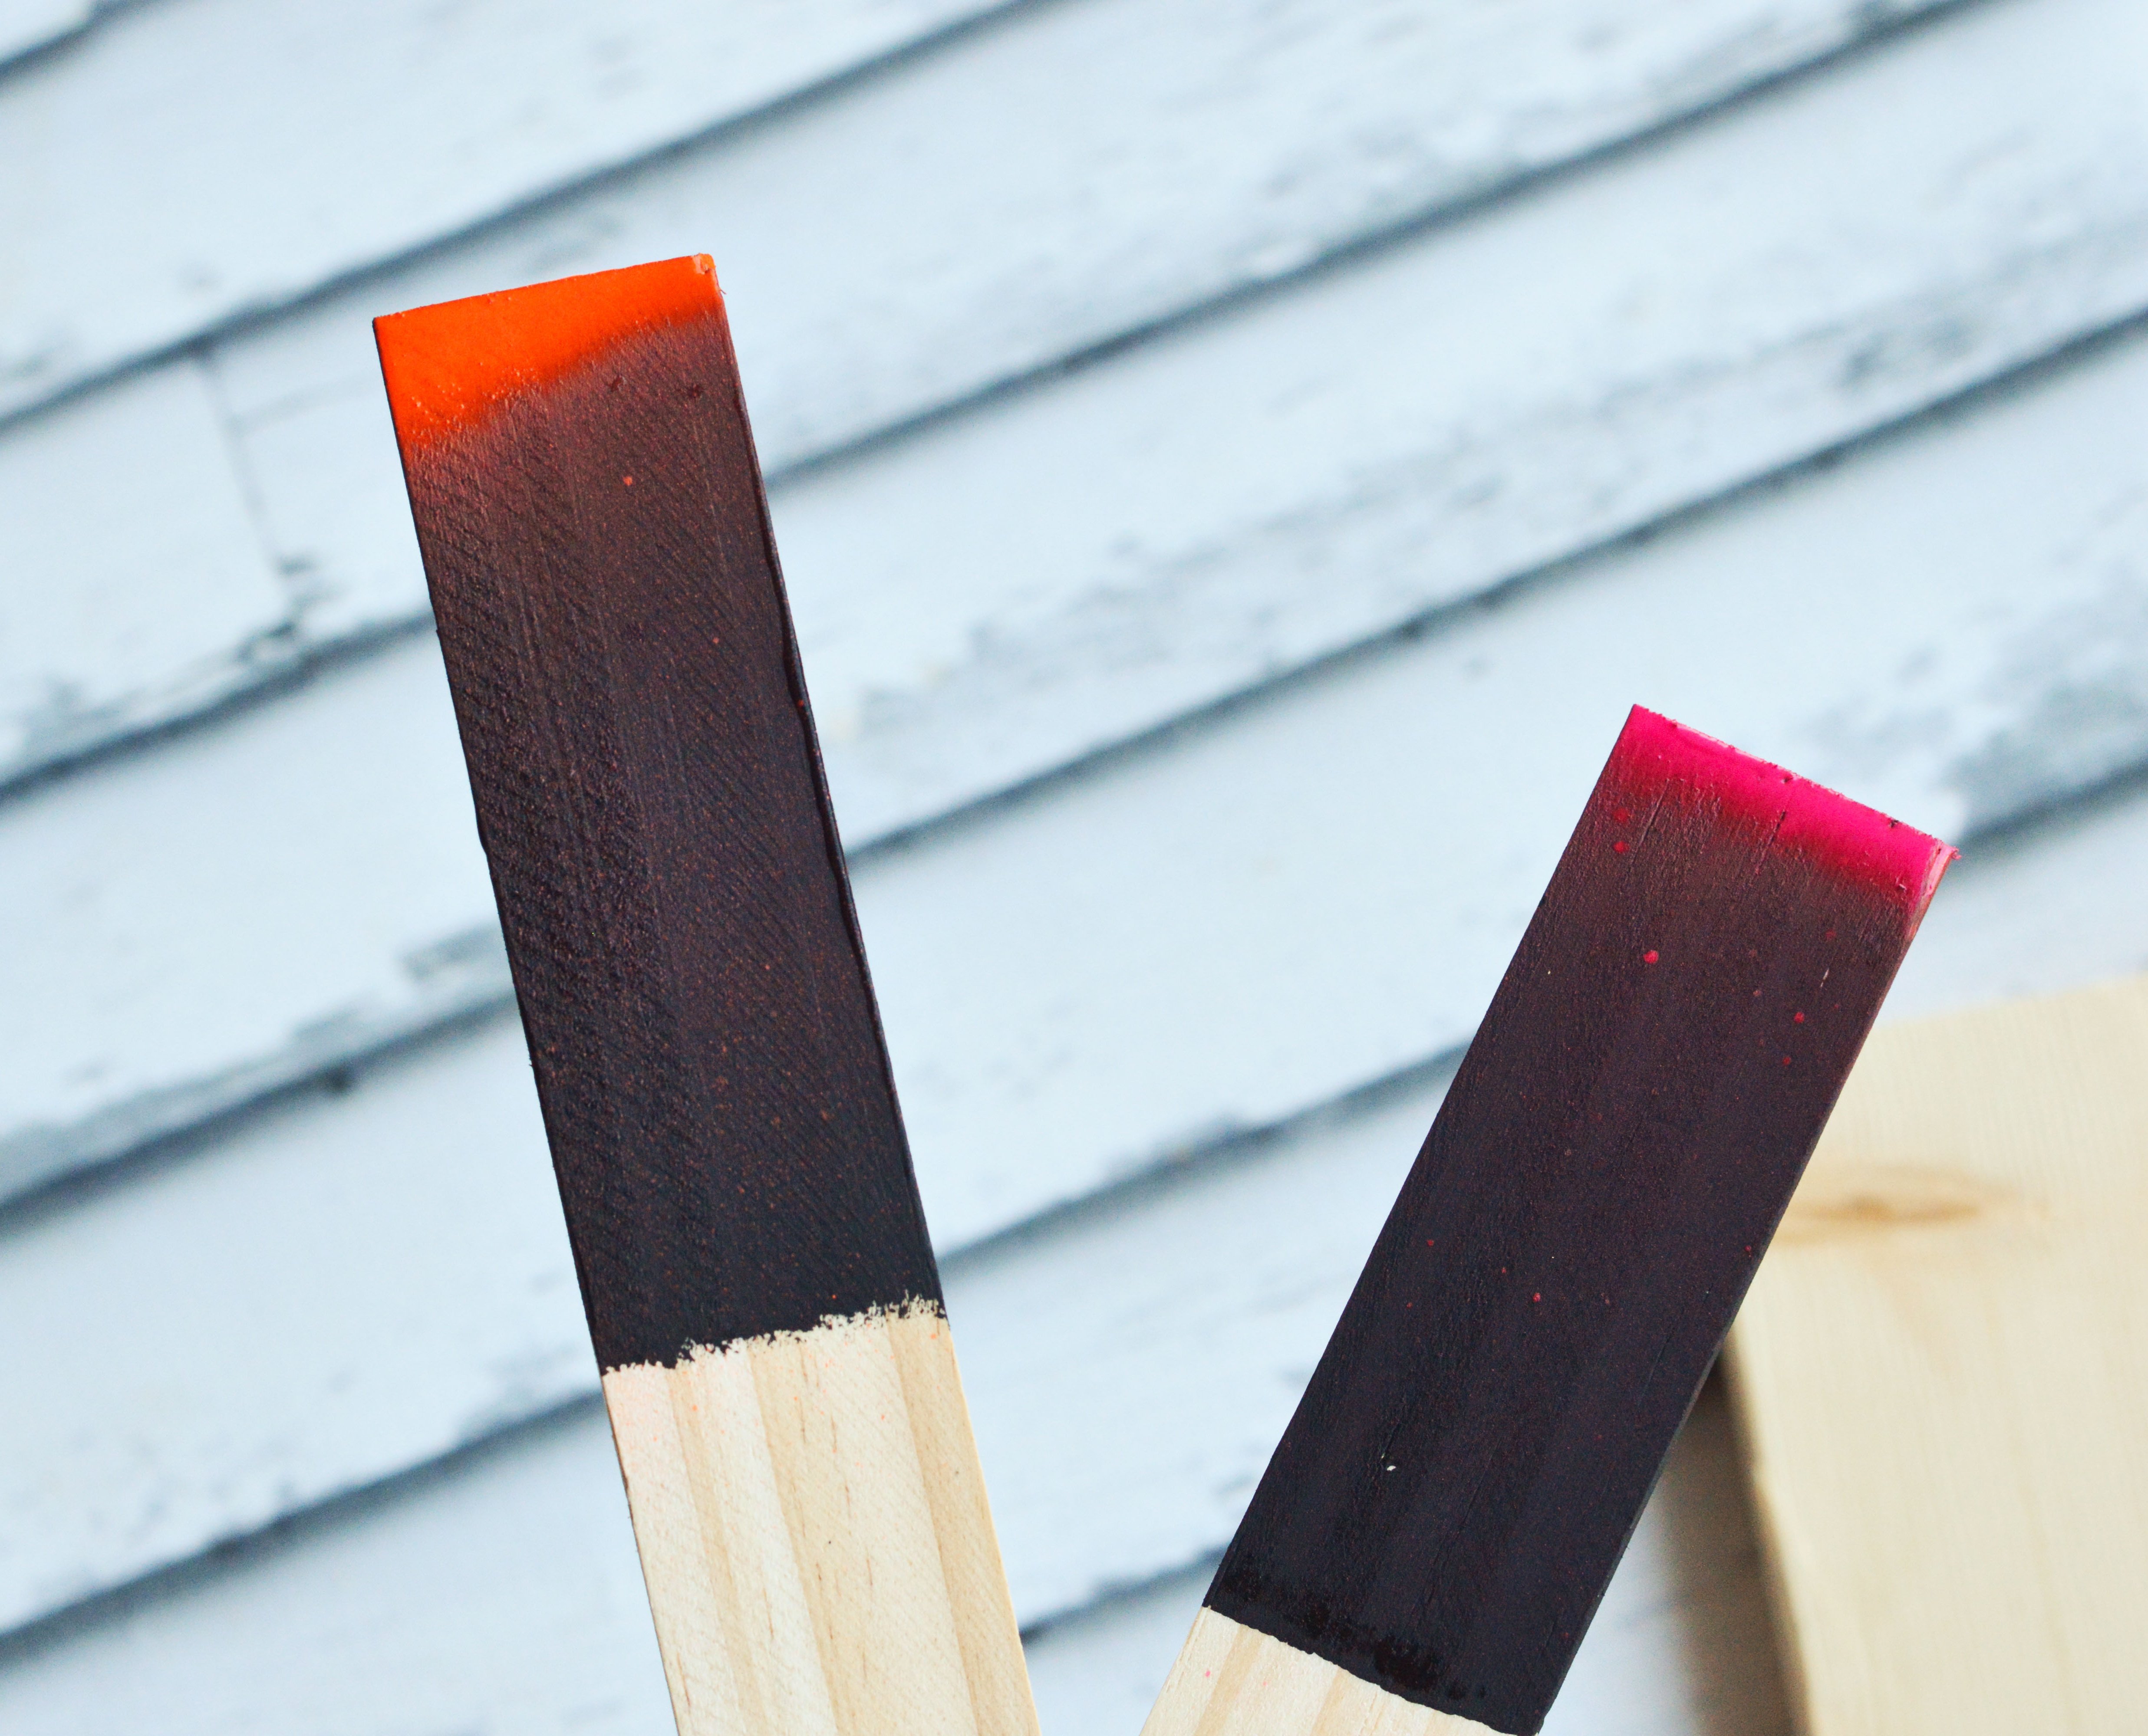
I wanted to make some garden markers that are not only fun but also reusable and could withstand a beating. That’s why I am loving these chalkboard tipped wooden markers! Not only are they super cheap to make but they are such a cute addition to your garden. Plus, spraying the black chalkboard with a vivid color makes it super easy to spot the marker without it getting lost among all the plants growing.
Here’s how to make your own DIY Chalkboard Garden Markers:
Items Needed:
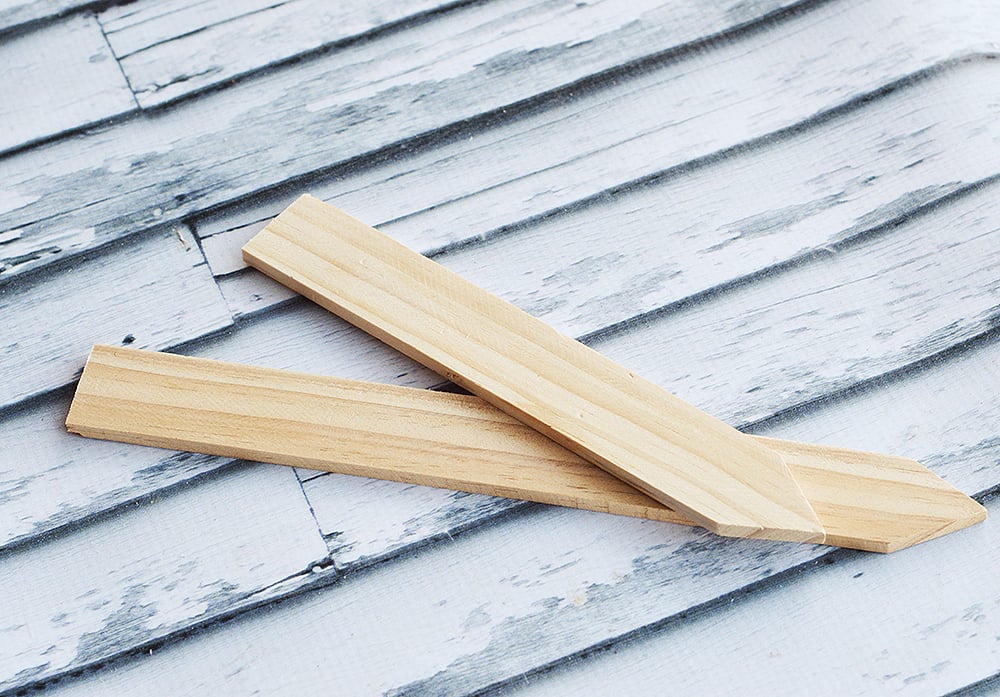
- Wooden Stakes
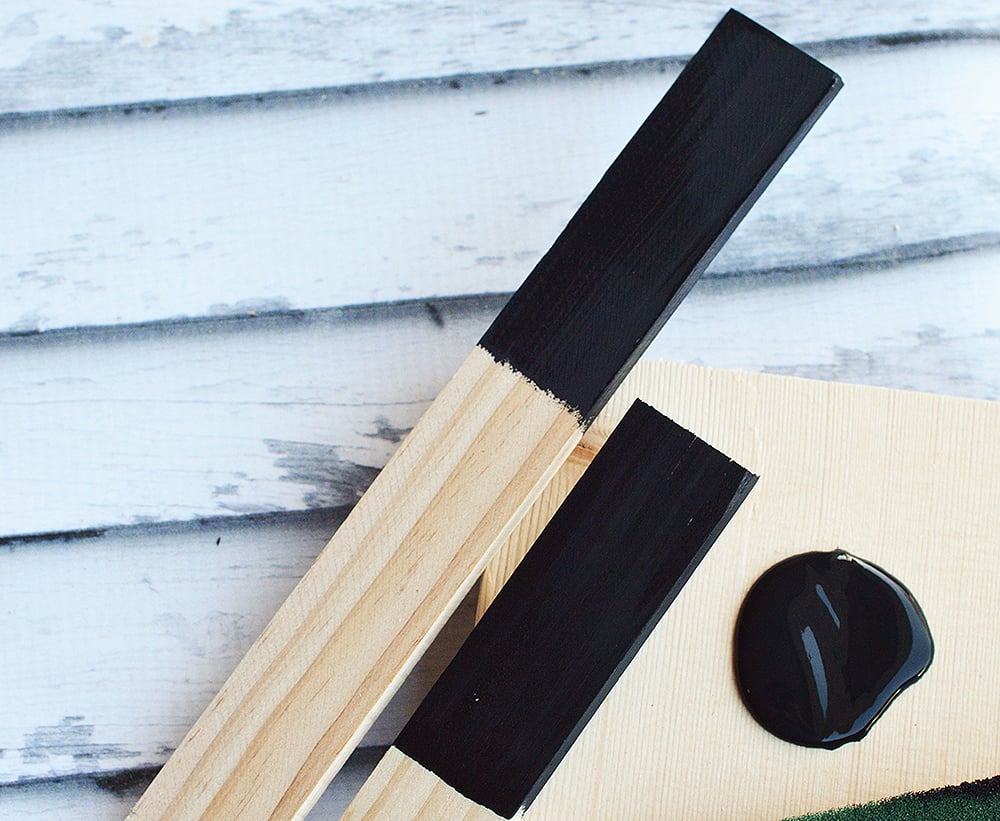
- Black Chalkboard Paint
- Foam Brush
- Bright Spray Paint
- Chalk
Instructions:
- You can find wooden stakes at Walmart or at most home improvement stores. For small garden beds or pots, you can use paint stirring sticks as well. Using a saw, cut down the wooden stakes or stirring sticks your desired length.
- With the foam brush, paint the chalkboard paint onto the stick. Cover the entire stick starting at the top, and go down about 4 inches. Allow to dry for a few minutes and add another coat if you like.
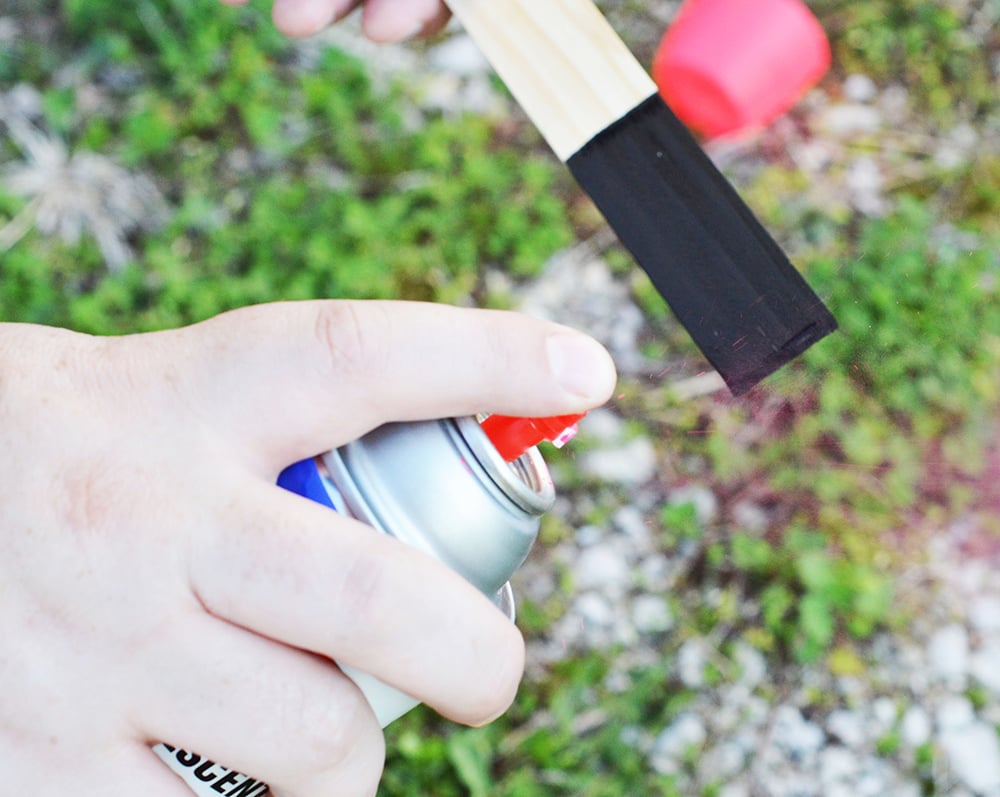
- Once the black chalkboard paint is dry, spray the tip using a bright color spray paint. Hold the paint back about 6 inches from the stick and do a few spurts to add a speckle or two for character. You can use a brush with normal paint for straighter lines.
- Allow the markers to completely dry for about an hour or two and they’ll be ready to label using chalk. Write whatever plant/vegetable/fruit/herb and stick it in the ground in your garden! The great thing is, you can erase and re-mark these garden markers as you need!
TIP: Have a friend or family member who loves to garden? These DIY Chalkboard Garden Markers make a great Springtime or hostess gifts!



D M F says
Will the chalk remain after a good rain?
Lucy says
You are going in the right direction, growing your own vegetables will be a good for your health.
Lalaine says
Yes, it would be great to cook with fresh, organic produce. Thanks Lucy!