Homemade Cherry Hand Pies are sure to be a favorite! These delightful little pocket pies with a golden and flaky crust and sweet and tart cherry filling are great for Summer potlucks, after-meal desserts, or anytime you need a sweet treat.
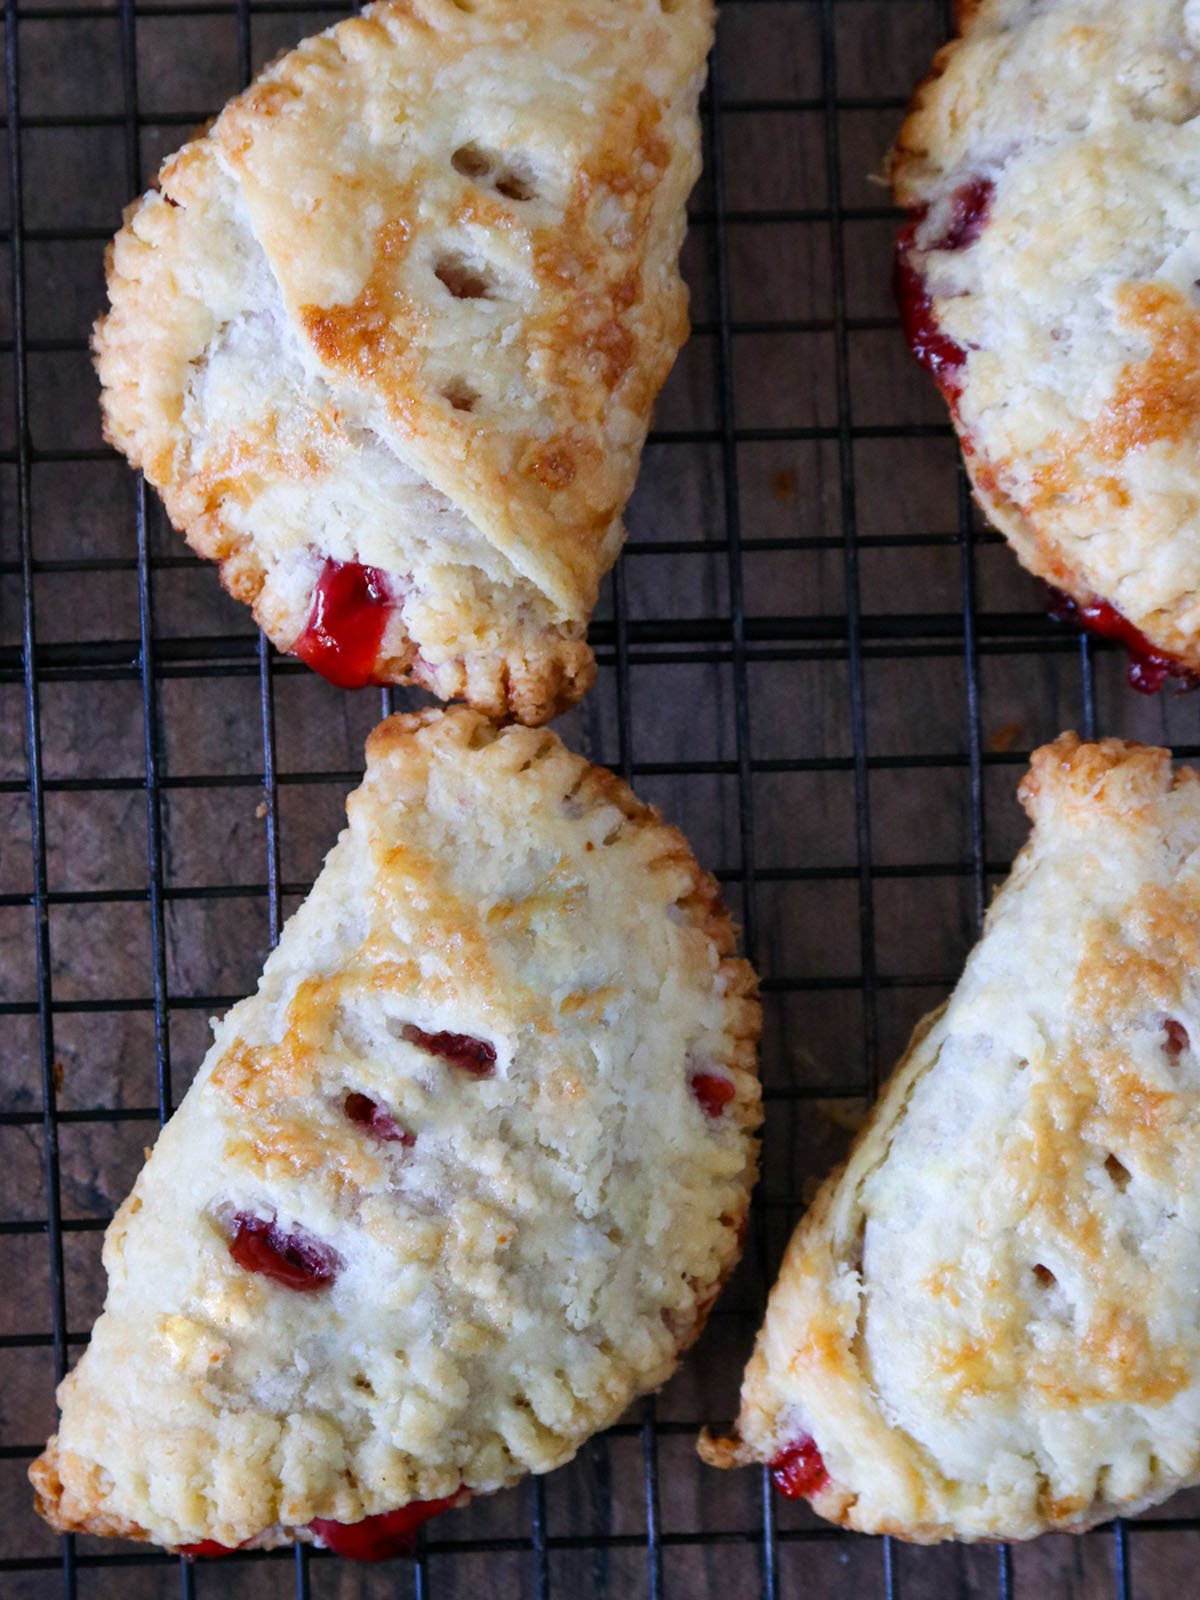
Hand pies and pasties are smaller and portable versions of classic round pies. Crimping the edge of the pastry played an essential role in the history of this delicacy, and here’s the full scoop behind it.
History
The pies originated from England and were said to be made for miners of Cornwall to bring as packed lunches. Since these mines are not the most sanitary places to eat and have high exposure to arsenic, the miners held the pies on the solid crimped edges. They would then throw the “contaminated parts” away as an offering of sorts to the so-called “mine ghost.”
Nowadays, pies can be made with either savory or sweet fillings, but back in those times, the miner’s wives would make combo pasties and mark the side where the sweet fillings were so the hubbies would know which side was dessert! Pretty smart!
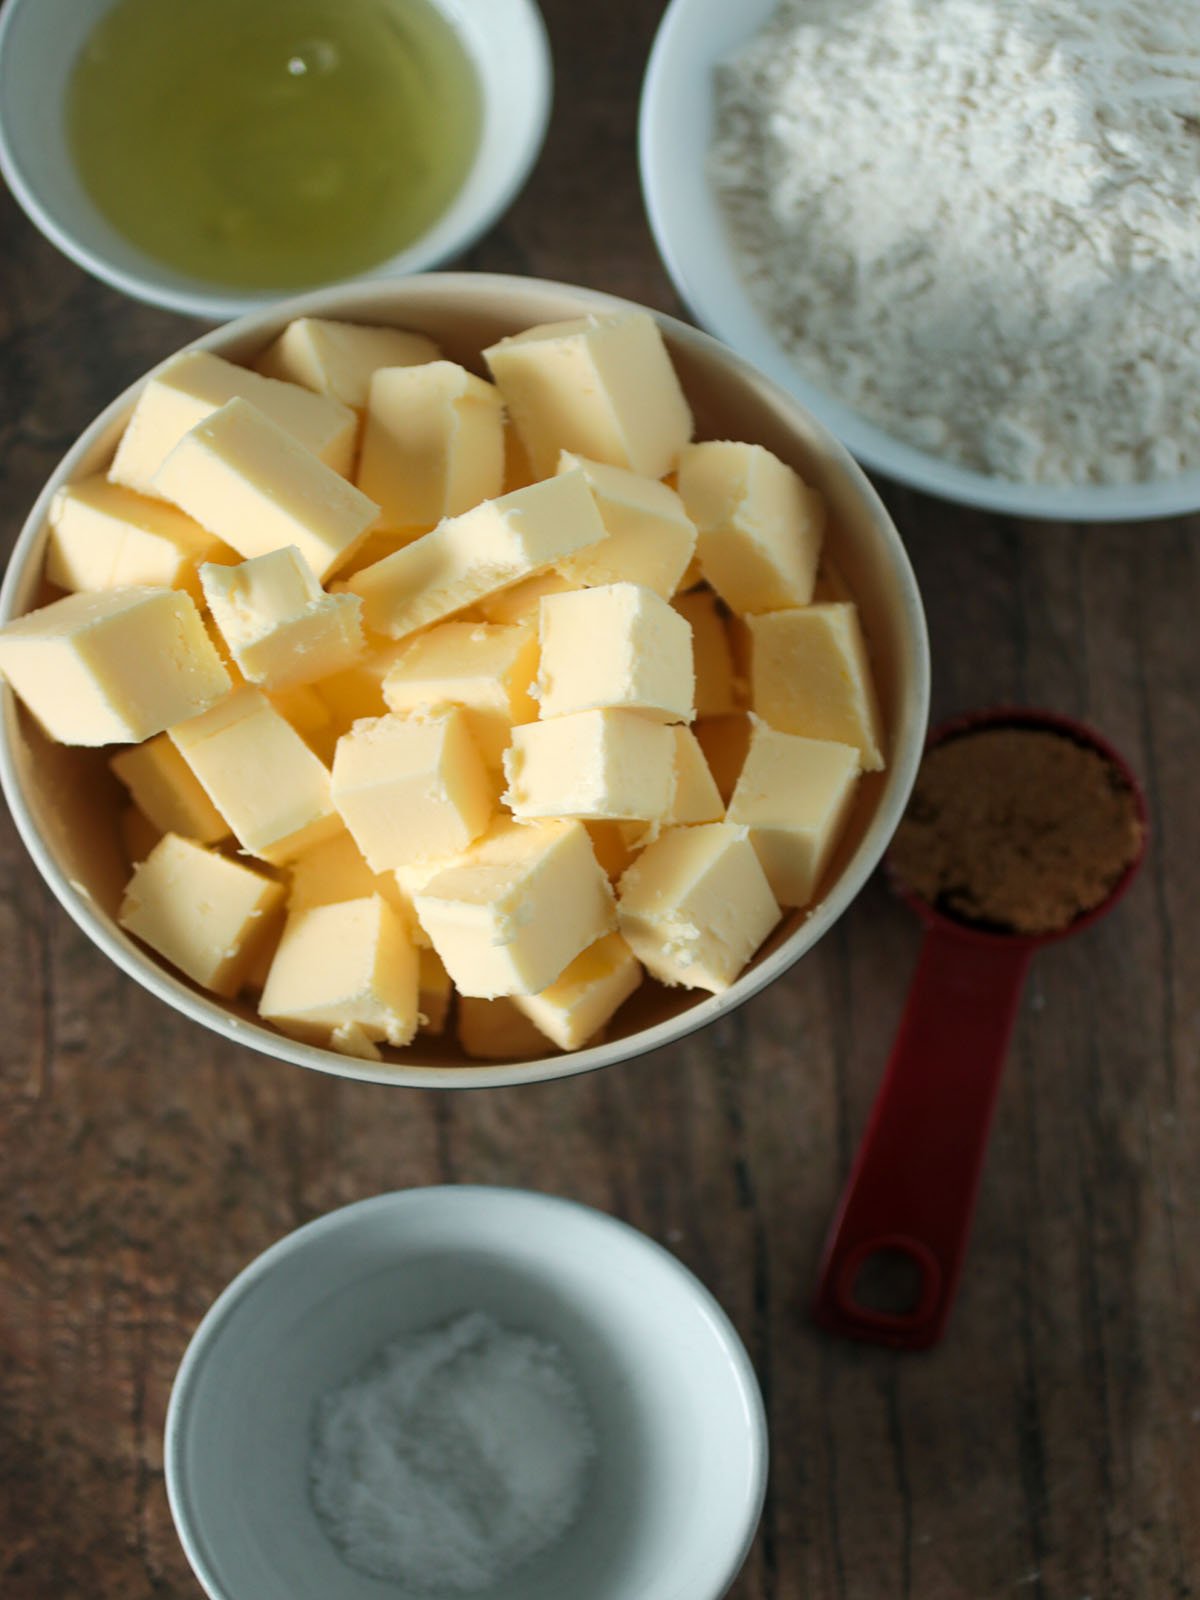
Making fruit pies involves two parts, namely, the dough and the filling.
Don’t be intimidated by what seems to be a complicated process. Both recipe components can be made ahead, and with proper planning, you can have a batch ready to bring to Summer picnics or enjoy as a quick pick-me-upper!
The pie crust
- The recipe below uses butter for the richest flavor, but you can also substitute shortening, lard, or a combination of butter and shortening or lard.
- For a super flaky crust, use VERY cold ingredients. Freeze the butter cubes and chill the flour for a few minutes to help maintain cool temperatures.
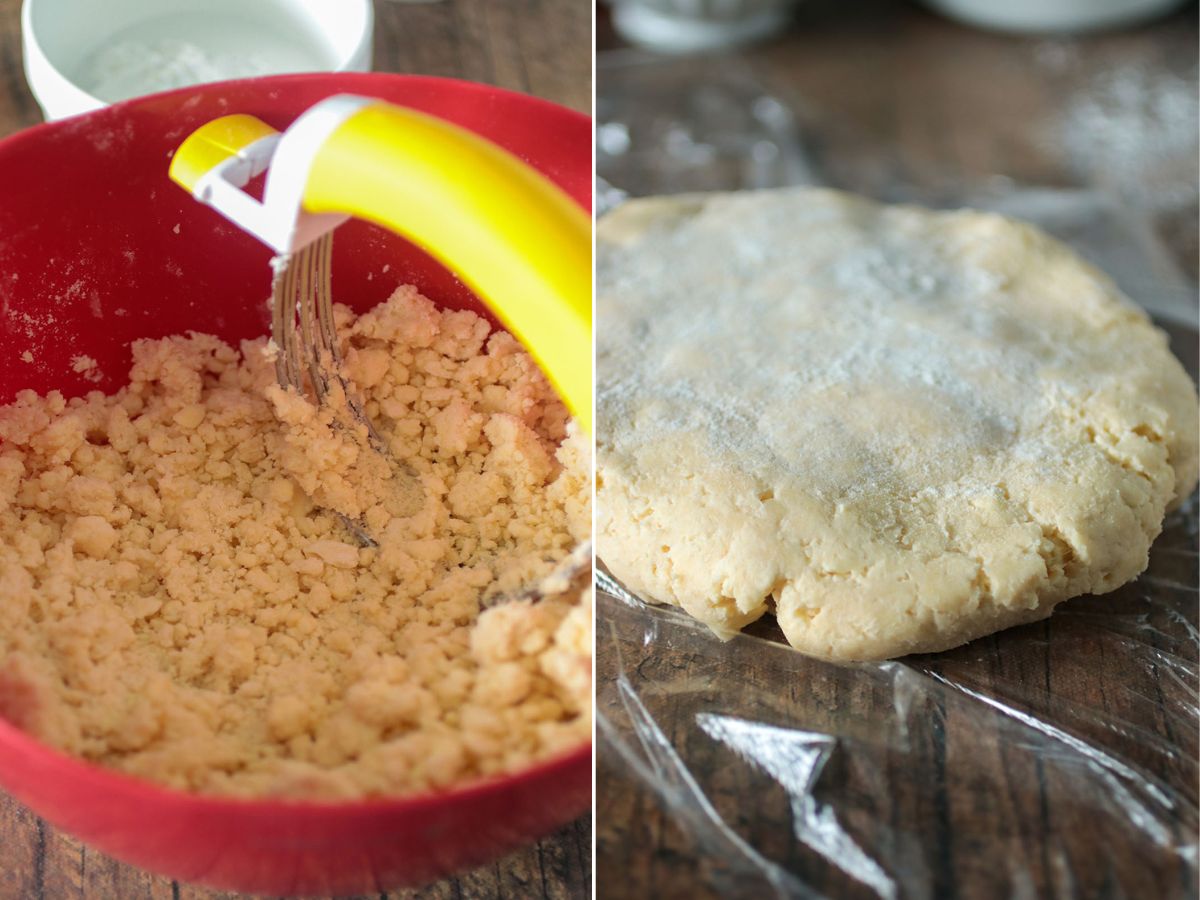
- Work the flour and butter with your hands into a coarse cornmeal-like texture, leaving pea-sized chunks of fat in the dough for optimum flakiness.
- Add ice-cold water sparingly and use just enough amount for the dough to hold together. The dough should not be sticky but shaggy and feel almost dry to the touch.
- Chill the dough before rolling it out. Shape it into a disc, cover it with plastic wrap, and refrigerate for at least 30 minutes or up to 2 days.
The cherry filling
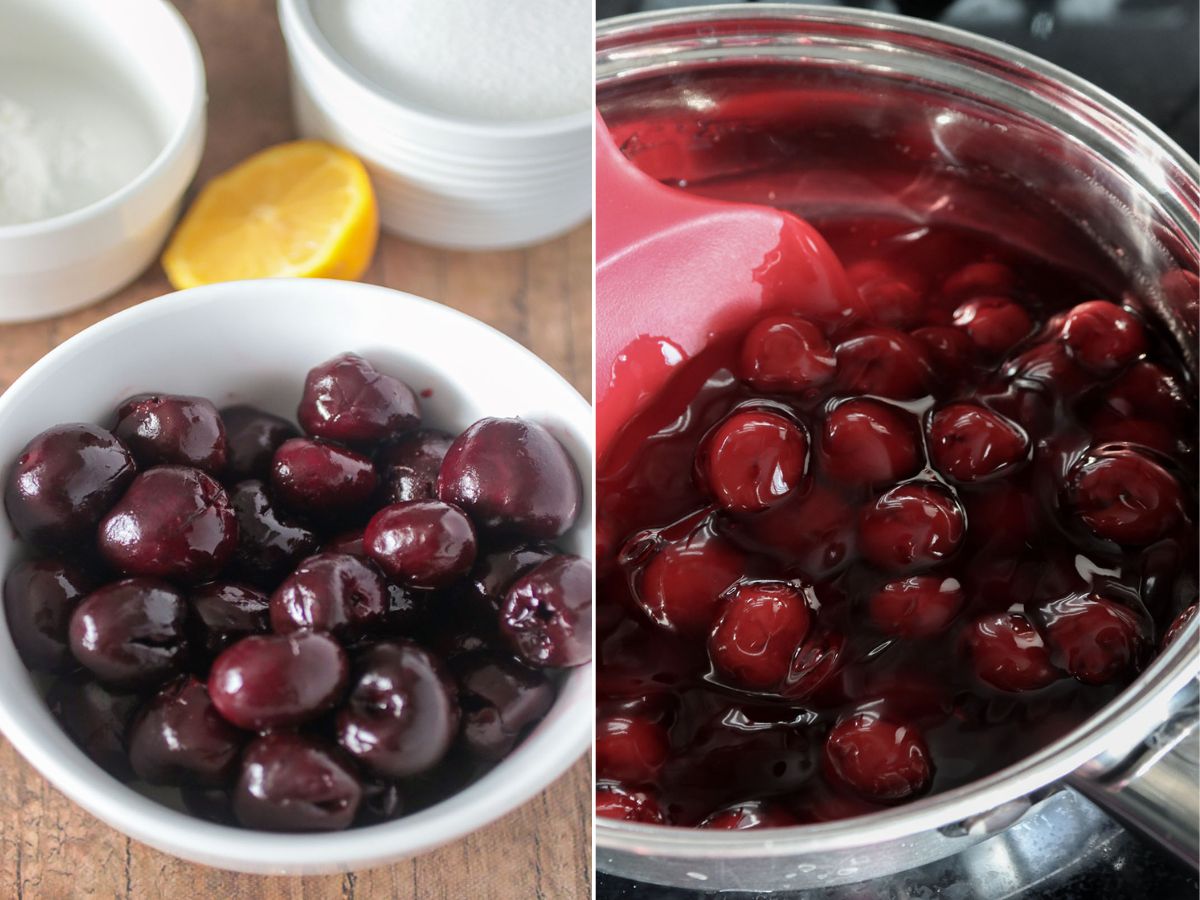
- While you can easily use canned cherry pie filling, nothing beats from scratch. It’s simple to make and requires only a handful of ingredients.
- Cherries may vary in taste, from very tangy and sickeningly sweet to in between. To get to that perfect balance of flavor, taste the fruit before making the filling and adjust the amount of sugar or lemon juice accordingly.
- Working with cherries may result in juice stains on hands, clothes, or counter areas. Use gloves, an apron, and a cutting board to protect skin or surfaces.
- Use frozen cherries if you want to skip the pitting or if the fruit is not in season.
- The fruit filling will thicken fast once it starts boiling. Tend to it regularly and adjust the heat to achieve a luscious texture.
- Cool the fruit filling as the escaping steam might tear the dough.
Pitting the cherries
While a pitter is best for the job, a sturdy wooden or metal stick will do the trick. Insert the stick in the stem end and once you hit the pit, twist it around it, and push the pit out.
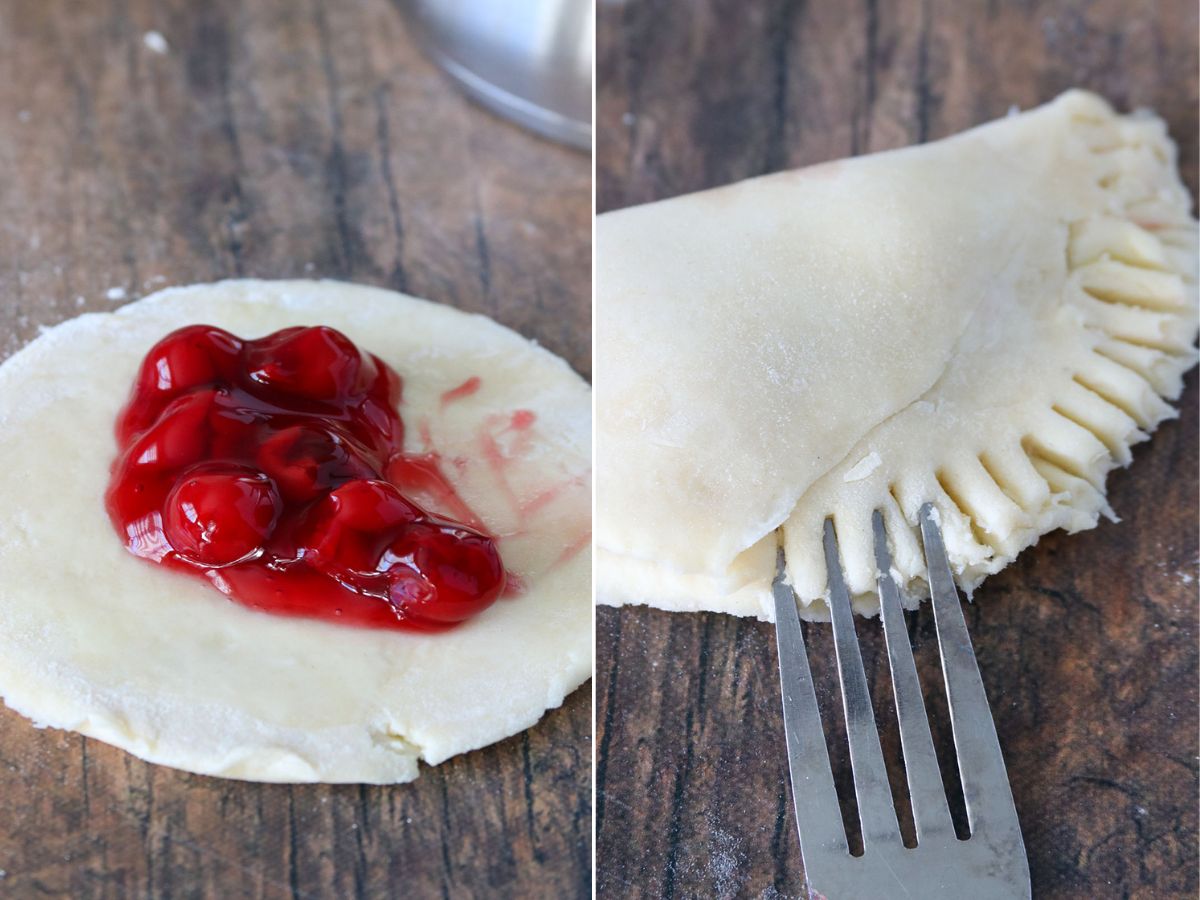
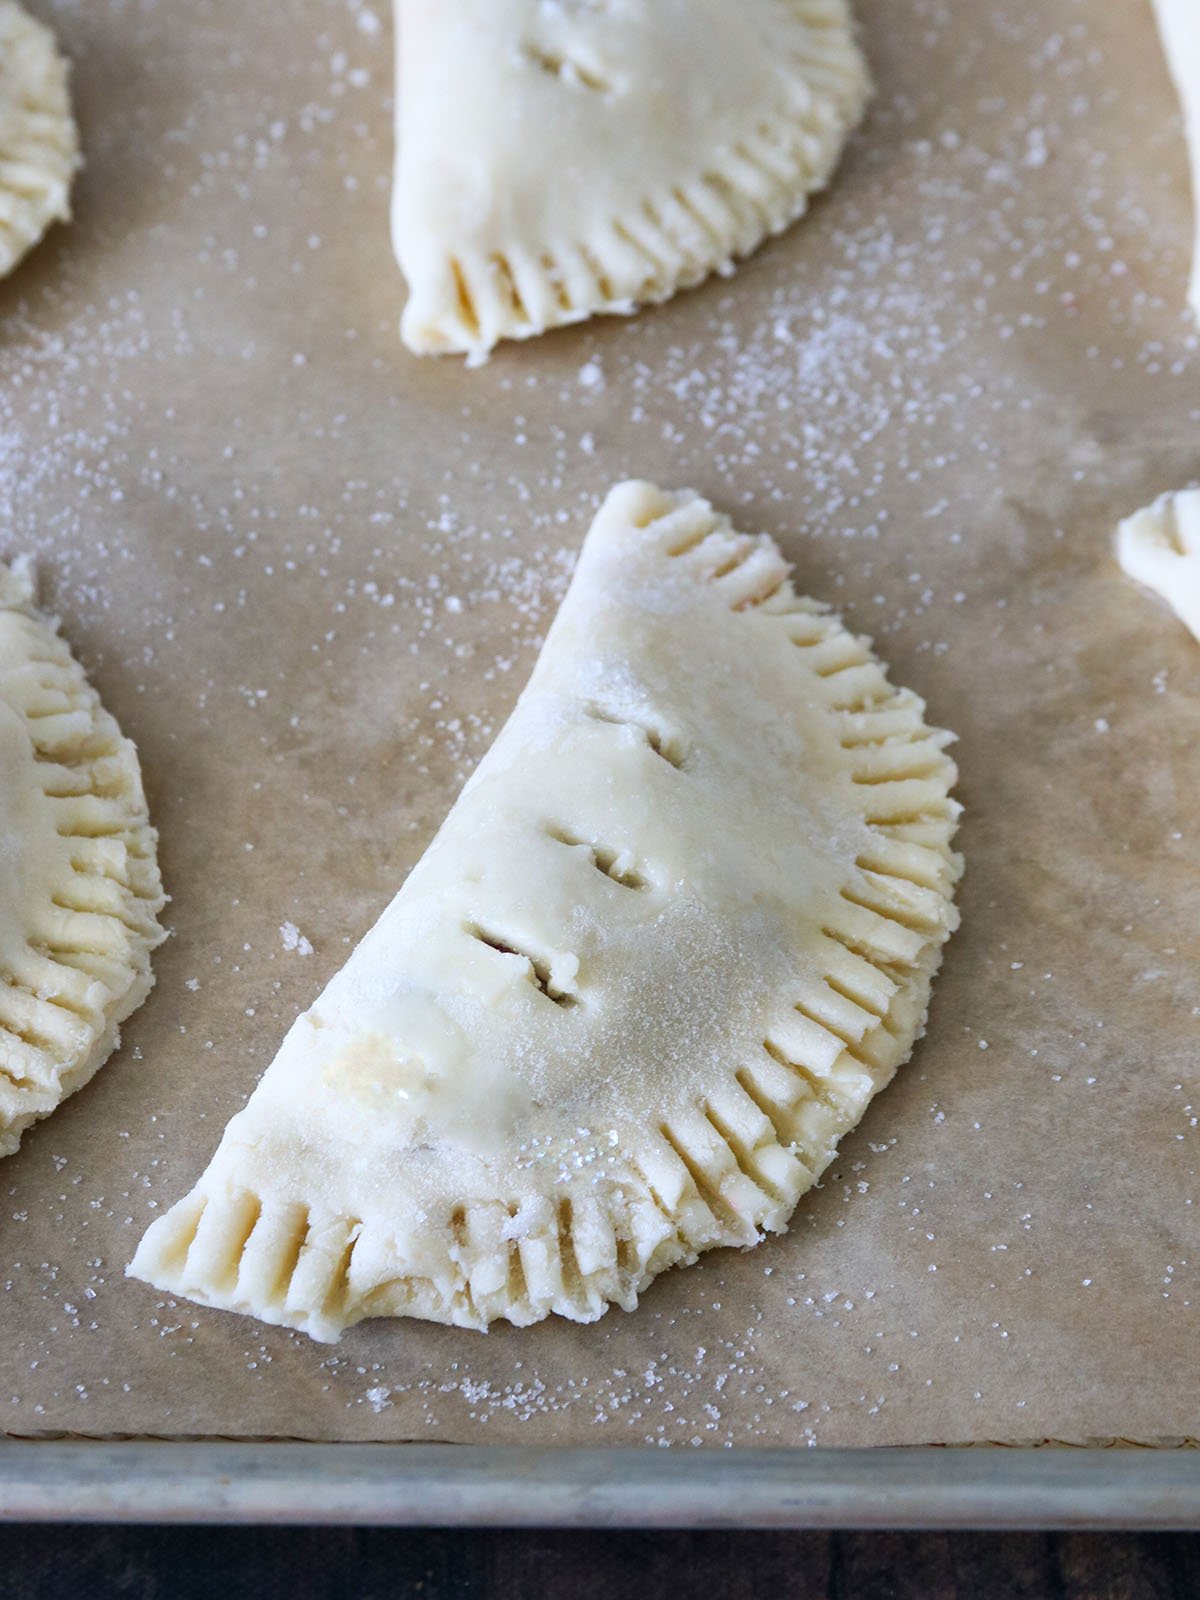
Pie assembly
- Assemble the pies as quickly as possible so the dough doesn’t heat up. If it begins to soften, tear apart or stick on the work surface, return to the refrigerator to chill for about 5 minutes.
- Handle the dough gently and do not over-manipulate to prevent gluten formation and toughening the crust.
- Easily crimp the edges and seal them with a fork. Brush with egg whites to help brown in the oven and sprinkle with sanding sugar for extra crunch.
- Do not overstuff the dough lest the pies will break apart. Create small slits on top of the pies with a small knife for venting.
- Freeze the assembled pies for at least 30 minutes before baking to ensure flakiness.
- Use high heat when baking these yummy pasties so the fillings will not leak. Baking in a very hot oven will let the pastry set and harden before the filling starts steaming.

Serving suggestions
- The aroma of freshly baked cherry pies wafting through the kitchen is pretty hard to resist, but please practice caution. Wait for them to cool a little before enjoying, as the filling can be very hot and cause scalding.
- The hand pies are delicious as an after-meal dessert or on-the-go midday snack. They’re fantastic on their own, but a scoop of ice cream on top takes them up a notch!

Storage instructions
- Due to their high sugar content and acidity, which can hinder bacteria growth, fruit pies such as cherry and apple are safe to store at room temperature for up to 2 days. Place them on a wide plate and cover them with an overturned bowl.
- For longer life or during warmer weather, store in the refrigerator for up to 7 days.
- To freeze, arrange the pies in a single layer on a baking sheet, cover them with plastic film, and freeze until firm. When hard, transfer to resealable bags and freeze for up to 3 months.
- To serve, thaw completely at room temperature or heat in a 350 F oven for about 5 to 6 minutes or until completely heated through.
Ingredients
- 1 1/4 cup all-purpose flour
- 1 1/2 cups very cold unsalted butter, cut into cubes
- 1 1/2 teaspoons salt
- 3 to 4 tablespoons ice-cold water
- 2 egg whites
- 1 tablespoon turbinado or granulated sugar
For the Cherry Pie Filling
- 2 cups pitted cherries
- 1 1/2 cups sugar
- 1 teaspoon fresh lemon juice
- 1 tablespoon cornstarch
Instructions
- In a large bowl, combine the flour and salt. Cut in the cold butter until the mixture looks like coarse crumbs.
- Stir in cold water a little at a time until the mixture can formed into a ball.
- Shape the dough into a disc and cover with plastic wrap. Place in the refrigerator for about 1 hour until firm.
- In a large bowl, combine the cherries and the ½ cup of sugar and let sit for about 15 minutes. Drain the juice and reserve 1/4 cup.
- In a sauce pan over medium heat, combine reserved cherry juice, cherries, lemon juice, and cornstarch. Cook for about 5 minutes or until the cherries soften and the liquid has thickened. Remove from heat and let it cool completely.
- Once the dough is ready, roll it out onto a floured surface to approximately 1/4-inch thick. Cut about 6 to 8 4 1/2 to 5-inch circles, re-rolling the scraps.
- Place a dough circle on a flat working surface and brush the top with egg white before filling.
- Scoop about 1 tablespoon of the cherry mixture onto the dough and fold over and seal the edges by crimping with a fork. With a knife, cut 3 small vent holes on the top.
- Repeat with remaining dough and filling mixture. Arrange the assembled pies in a single layer on a parchment-lined baking sheet, cover it with plastic wrap, and freeze for at least 30 minutes.
- Preheat oven to 375 F.
- Remove the plastic wrap and brush the tops of the pies with egg white and sprinkle with turbinado or granulated sugar.
- Bake on the middle rack of the oven for 30 minutes or until the tops are golden brown.
- Remove from pan and allow to cool on a wire rack.
Nutrition Information
“This website provides approximate nutrition information for convenience and as a courtesy only. Nutrition data is gathered primarily from the USDA Food Composition Database, whenever available, or otherwise other online calculators.”




Erica says
Hi! I am making these and in the cherry filling part, it says 1 1/2 cups of sugar but then in the directions, it says add 1/2 cup of sugar. Which one is correct? Or is the other cup of sugar supposed to be added somewhere else? Thank you!