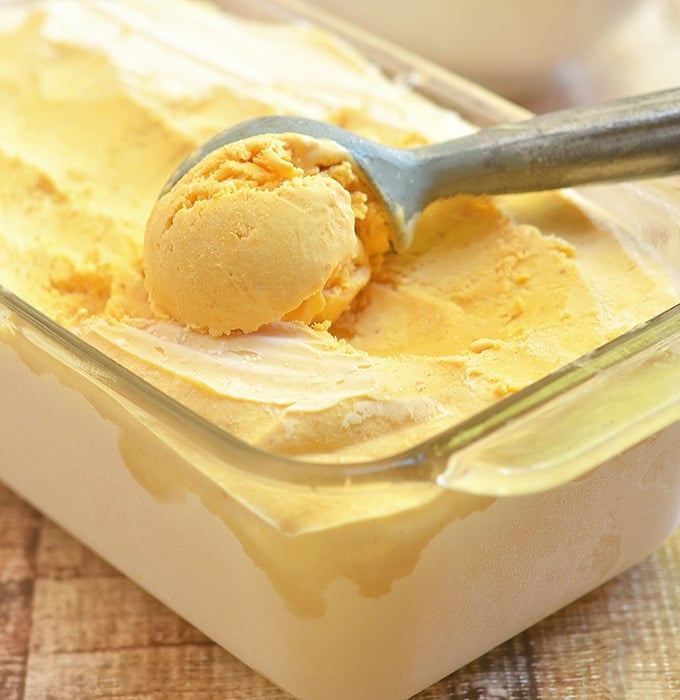
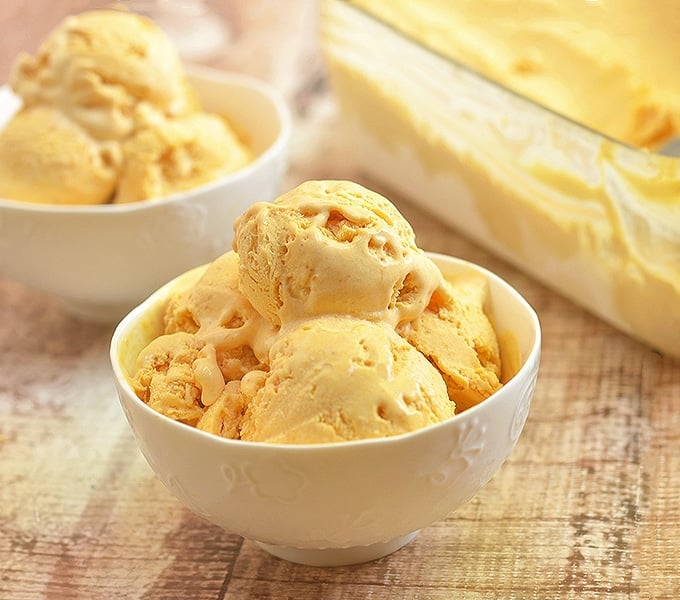
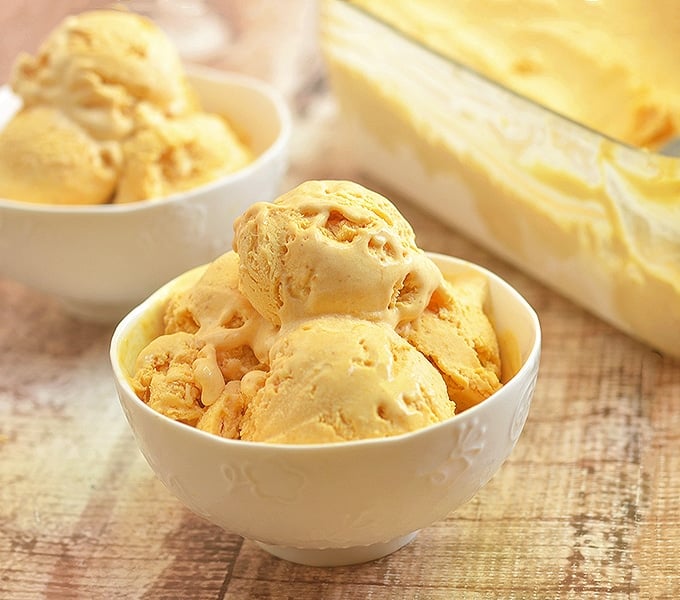
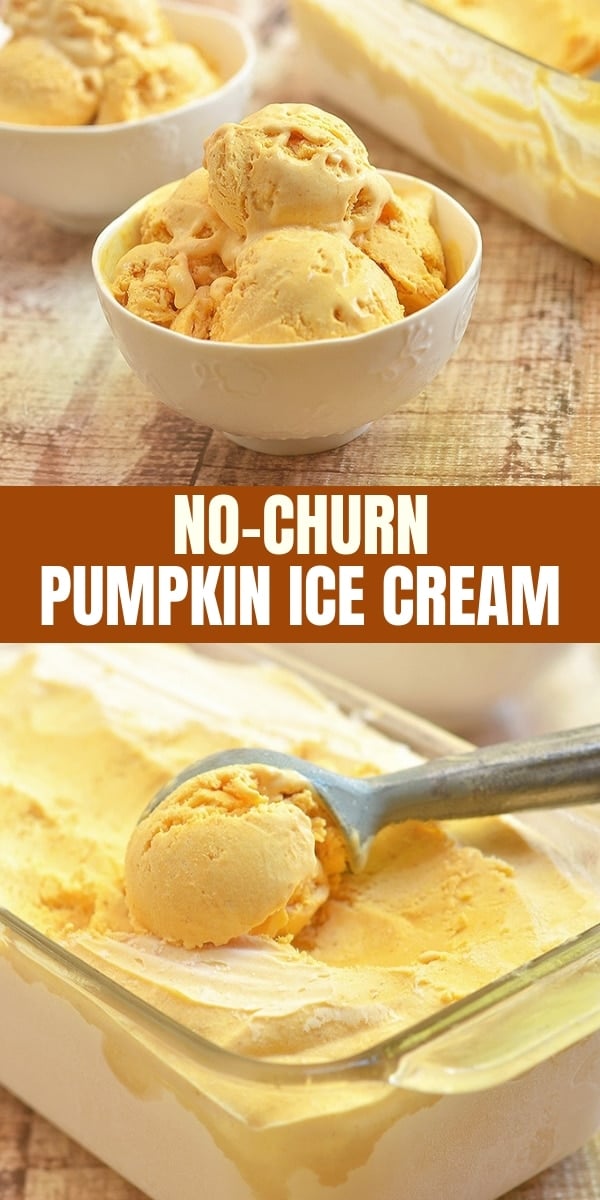
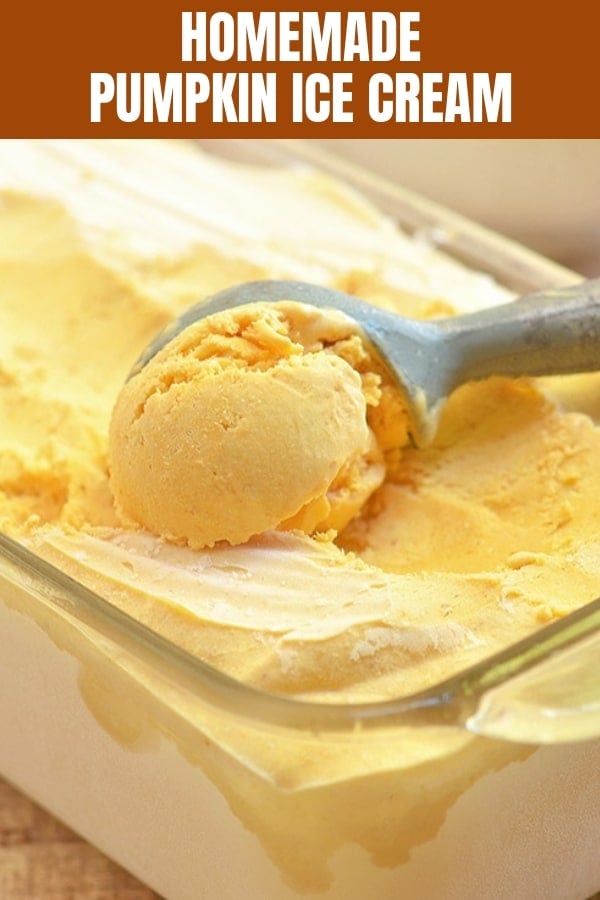
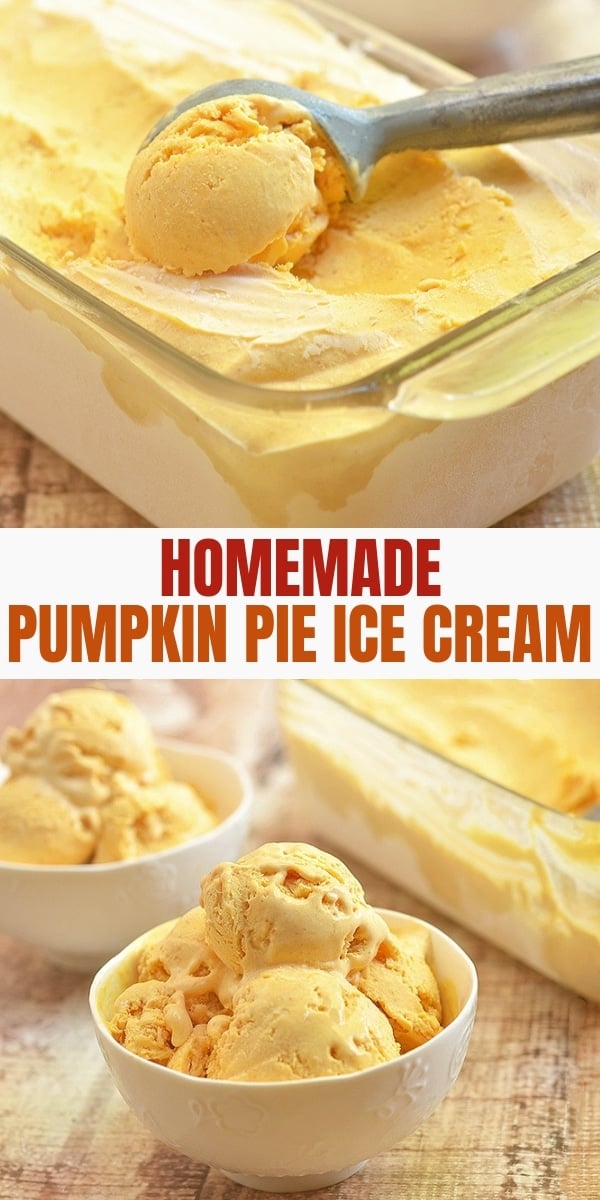
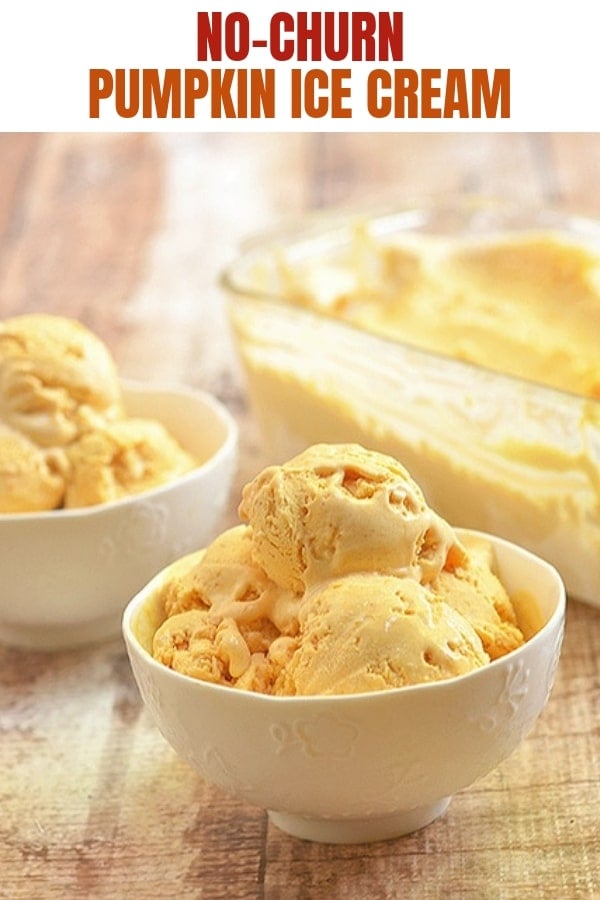
No-Churn Pumpkin Ice Cream is rich, creamy, and bursting with pumpkin pie flavors for the perfect Fall treat. Easy to make with no ice cream maker needed!
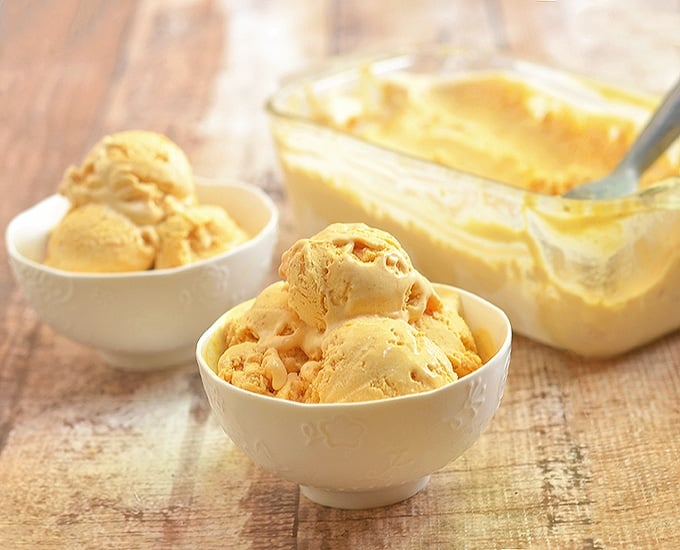
Today is the officially the start of Fall and I am officially jumping on the Fall food train with one of my favorite things to make, no-churn ice creams! If you’re a long time reader of the blog (thank you!), you know I am pretty much obsessed with this method of making ice cream without an ice cream maker.
I am so obsessed, in fact, I spend all summers dreaming up and concocting various flavors such as this dulce de leche or this double peanut butter to enjoy and a little dip in the weather is not going to keep me from dreaming up and concocting more. 🙂
No-churn pumpkin ice cream is the perfect welcome to Fall and if you’re looking to veer from the usual this year, it’s a great dessert alternative to cap off your Thanksgiving feast. Rich, creamy, and with delicious notes of cinnamon, nutmeg, and ginger, you get all the flavors of your favorite pie in frozen form!
Other than a guaranteed party winner, it’s so easy to make and requires minimal effort. Just whip it up the day (or days!) before the event, freeze, and everyone gets to enjoy a sweet treat without you having to sweat it out in the kitchen. Happy Thanksgiving to you, too. 🙂
Like our other no-churn ice cream recipes on the blog, this homemade pumpkin ice cream requires no churning or ice cream maker to be amazing! Follow these simple tips and you’ll have your batch ready to enjoy in no time.
Tips on How to Make No-Churn Pumpkin Ice Cream
- For sturdier foam and better peak, use a heavy cream with at least 30% milk fat content
- Make sure the heavy cream and condensed milk are very cold so the mixture whips up to maximum volume. You can also chill the bowl and the beaters in the freezer for about 20 to 30 minutes.
- Start beating the cream at low speed to build smaller bubbles for a stable foam. When the mixture begins to thicken, increase the speed to medium and continue to beat until you reach stiff peaks.
- Do not overbeat the whipped cream or the fat in the mixture will separate from the liquid. You’ve reached stiff peaks when the cream is thick and heavy and clings to the beaters. To check, turn the whisk up. The peaks should hold up proudly and should point straight up without collapsing.
- The lighter and airy the whipped cream, the silkier the ice cream. Pay extra care not to deflate the cream mixture.
- Press down plastic wrap or wax paper gently on the entire surface of the ice cream to prevent ice crystals from forming. Store the ice cream container at the back part of the freezer where the temperature is at its coldest and most consistent as fluctuations in temperature can result in a grainy texture.
Ingredients
- 2 cups heavy cream, very cold
- 1 can (14 ounces) condensed milk, very cold
- 1 cup pumpkin puree, cold
- 1/2 teaspoon ground cinnamon
- 1/2 teaspoon ground ginger
- 1/8 teaspoon freshly-grated nutmeg
Instructions
- In a large bowl, combine heavy cream, condensed milk, pumpkin puree, cinnamon, ginger, and nutmeg.
- Using a hand mixer on low speed, beat until mixture begins to thicken. Increase speed to medium and continue to beat until stiff peaks form.
- Transfer mixture into a 9 x 5 loaf pan. Cover with plastic film, lightly pressing the plastic film against the surface of the cream mixture.
- Freeze for at least 6 hours or overnight. Serve frozen.
Nutrition Information
“This website provides approximate nutrition information for convenience and as a courtesy only. Nutrition data is gathered primarily from the USDA Food Composition Database, whenever available, or otherwise other online calculators.”



Connie Adams says
This sounds awesome!