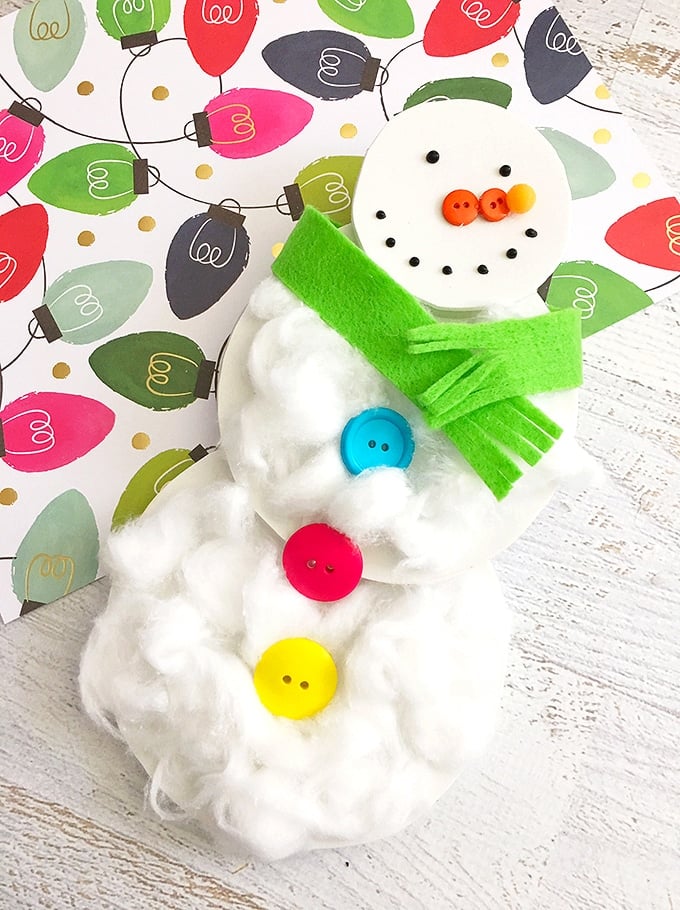
Snowman Cotton Ball Craft is the perfect winter activity for the little ones! So easy and fun to make with inexpensive supplies.
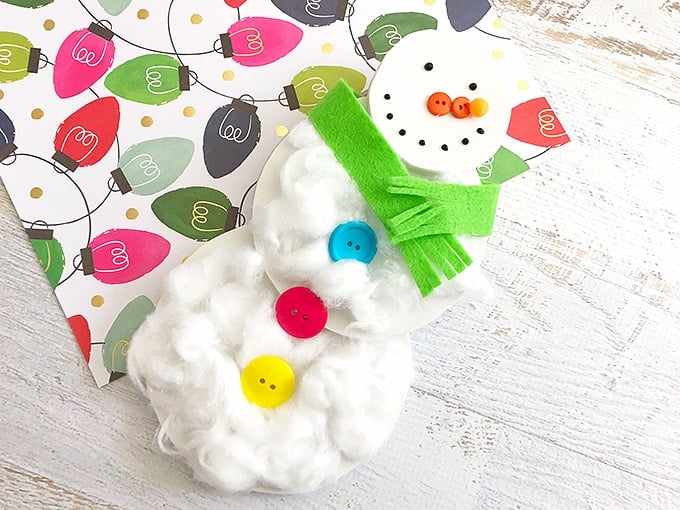
This Cotton Ball Snowman is the fifth and last of our Christmas in September extravaganza on the blog. I have a ton more crafts and fun food lined up but I’ll resume the series again in November when we’re closer to the holidays.
Below are the other four featured this week. I hope you check them out and make sure to bookmark or pin to your holiday board so you’ll have easy access when you’re ready to get into the Christmas spirit. )
Holiday Crafts and Fun Food
- Christmas Wreath Cupcakes
- Snowman Upcycled Wooden Board Decor
- Snowman Sugar Cookies
- Grinch Jello Cups
Of course, don’t forget to save this Snowman Cotton ball craft as well. It’s such a fun and easy activity that will keep the little ones happy and busy all winter long. It’s also a cool way to use all those extra buttons you’ve been meaning to sew back on clothes but never got around to. 😉
A word of caution, though. Hot glue is best to keep all the materials secure and glued together but for safety, please use regular craft glue if little hands are going to be solely making the project.
How to Make Snowman Cotton Ball Craft
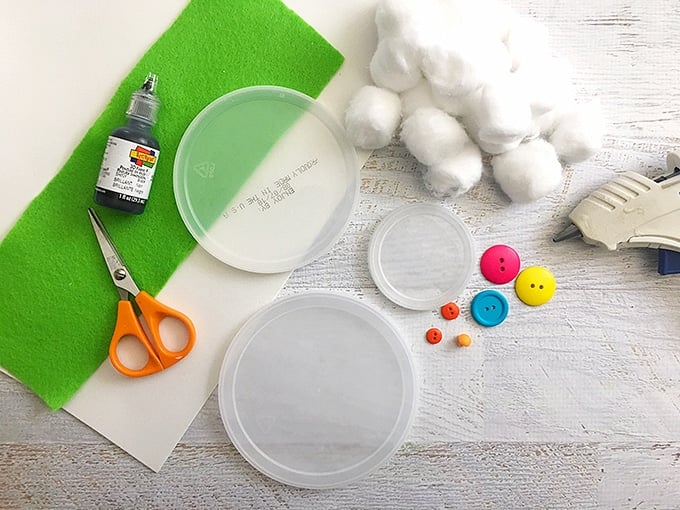
Materials
- Plastic lids, different sizes
- White craft foam
- Cotton balls
- Colorful buttons
- Black puffy paint
- Green felt
- Sharpie
- Hot glue
Instructions
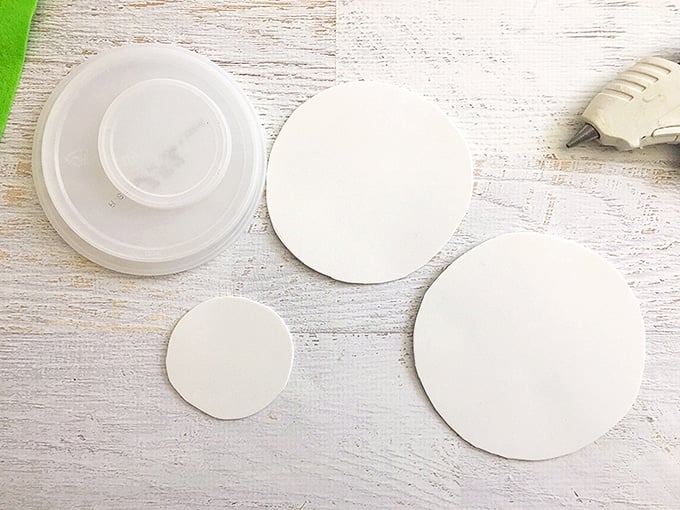
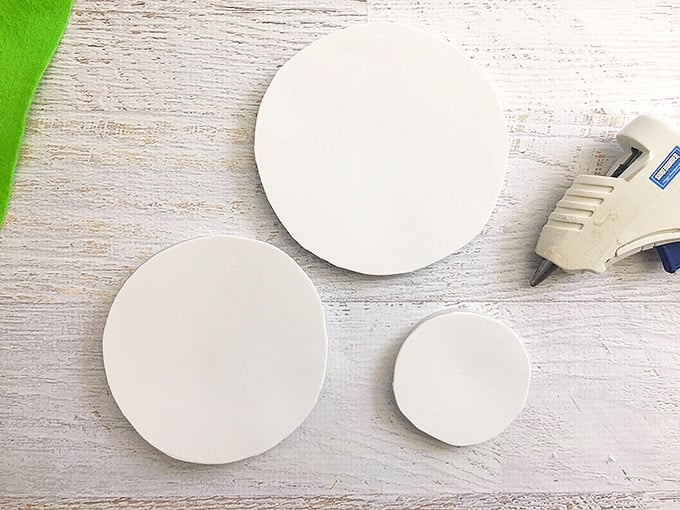
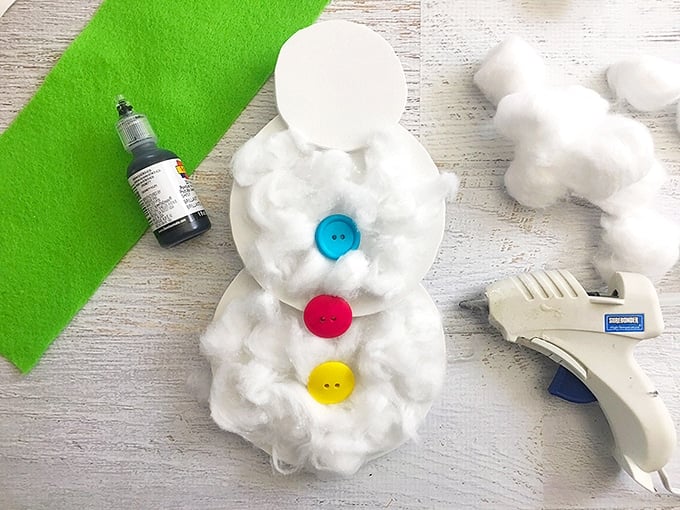
Trace the lids onto a white craft foam board and using scissors, cut the circles.
Using the hot glue gun, carefully glue the craft foam to the clear lids.
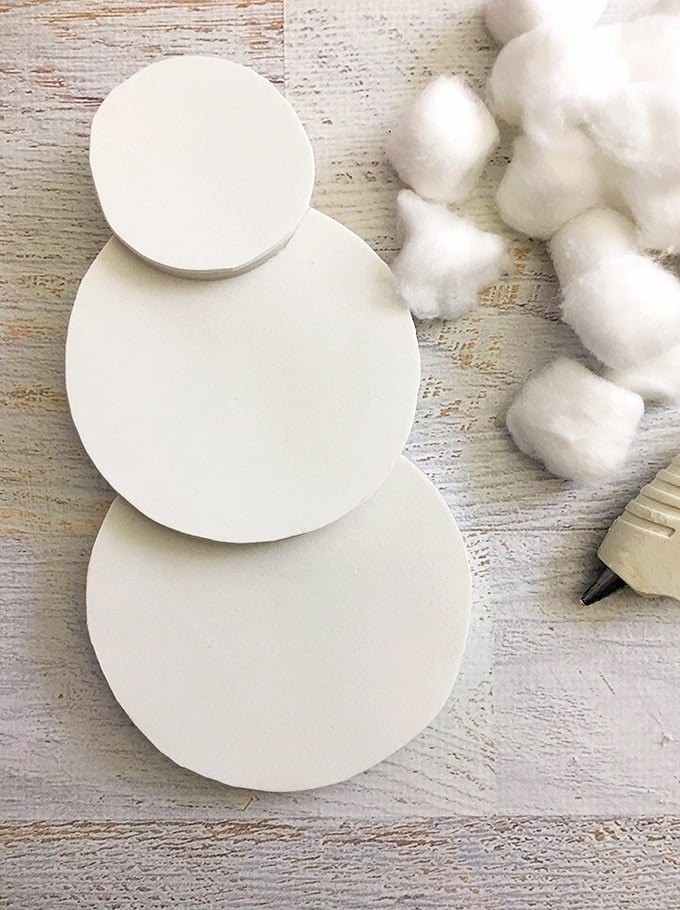
Glue each foam-covered lids together with the largest at the bottom and smallest at the top.
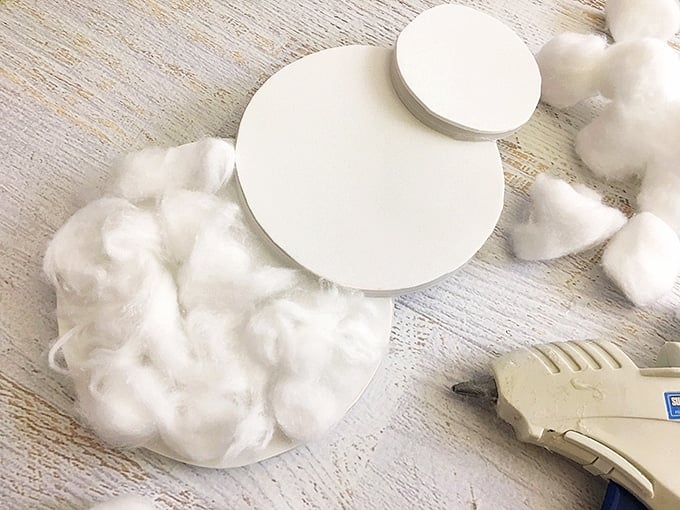
Carefully glue cotton balls all over the two bottom circles.
Glue 3 buttons vertically onto the cotton balls.
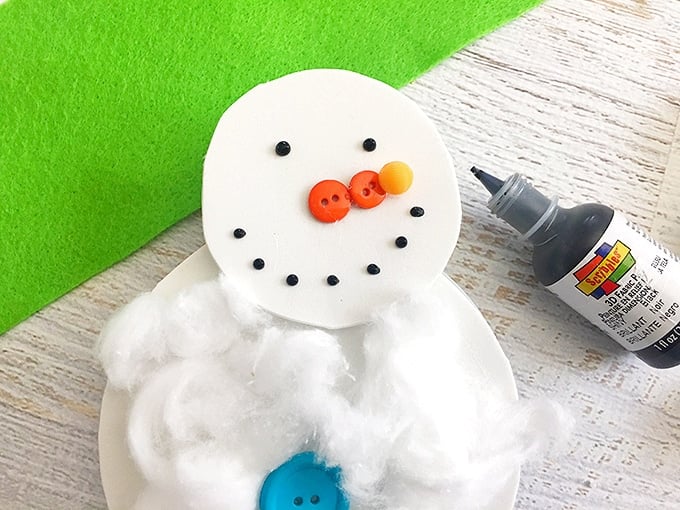
Glue 3 small orange buttons together in a line on the center of the top white circle foam board for a carrot nose. Using the black puffy paint, draw dots for eyes and dots for a smile.
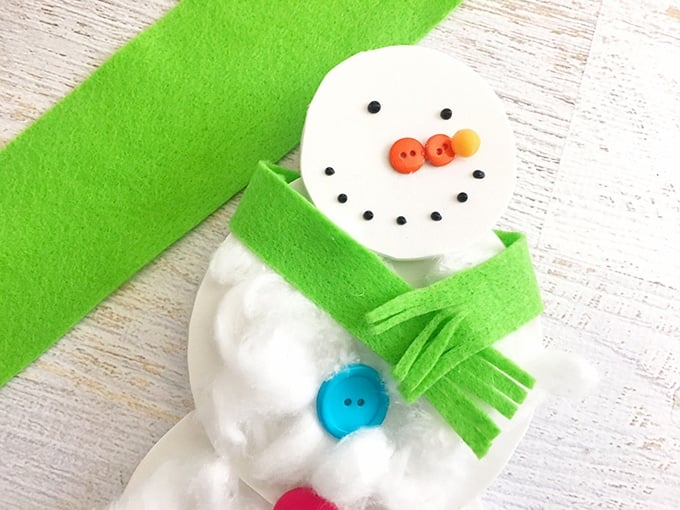
Using scissors, cut an 11″ x 1″ piece of green felt and fringe the edges. Wrap and carefully glue the green felt strip around the top of the second white circle to resemble a scarf. Allow to dry completely and it’s ready to display!
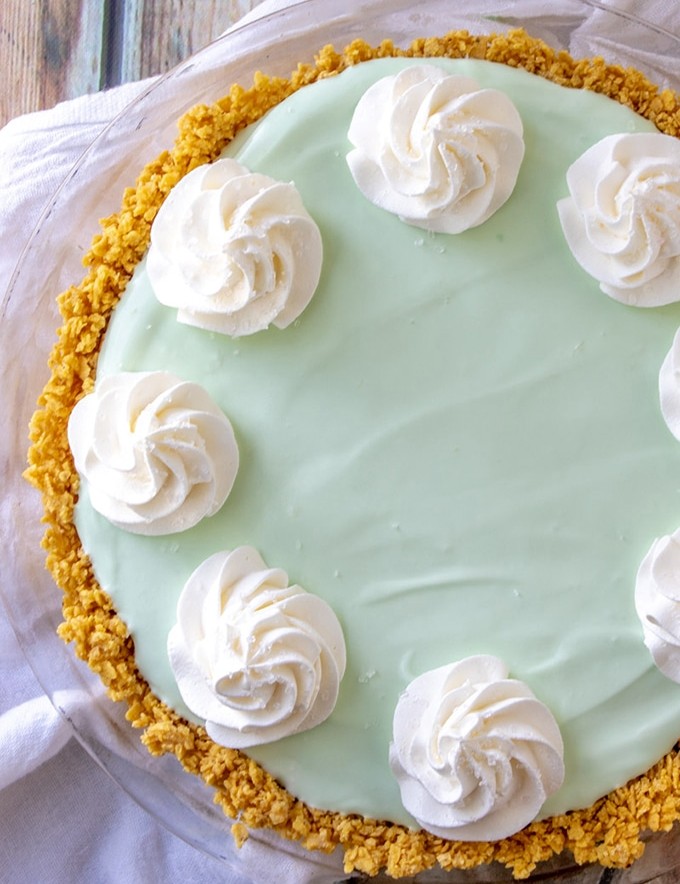
See you tomorrow for the perfect dessert to enjoy the last days of Summer-frozen margarita pie!

Leave a Comment