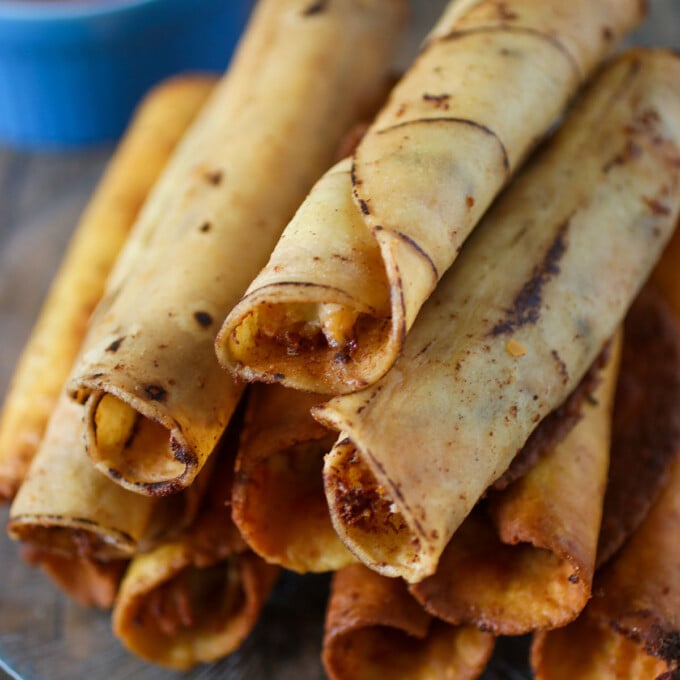
Cream Cheese Chicken Taquitos are tasty, crunchy, and loaded with creamy and flavorful salsa verde chicken. They’re a fantastic snack, appetizer, or Mexican-inspired meal.
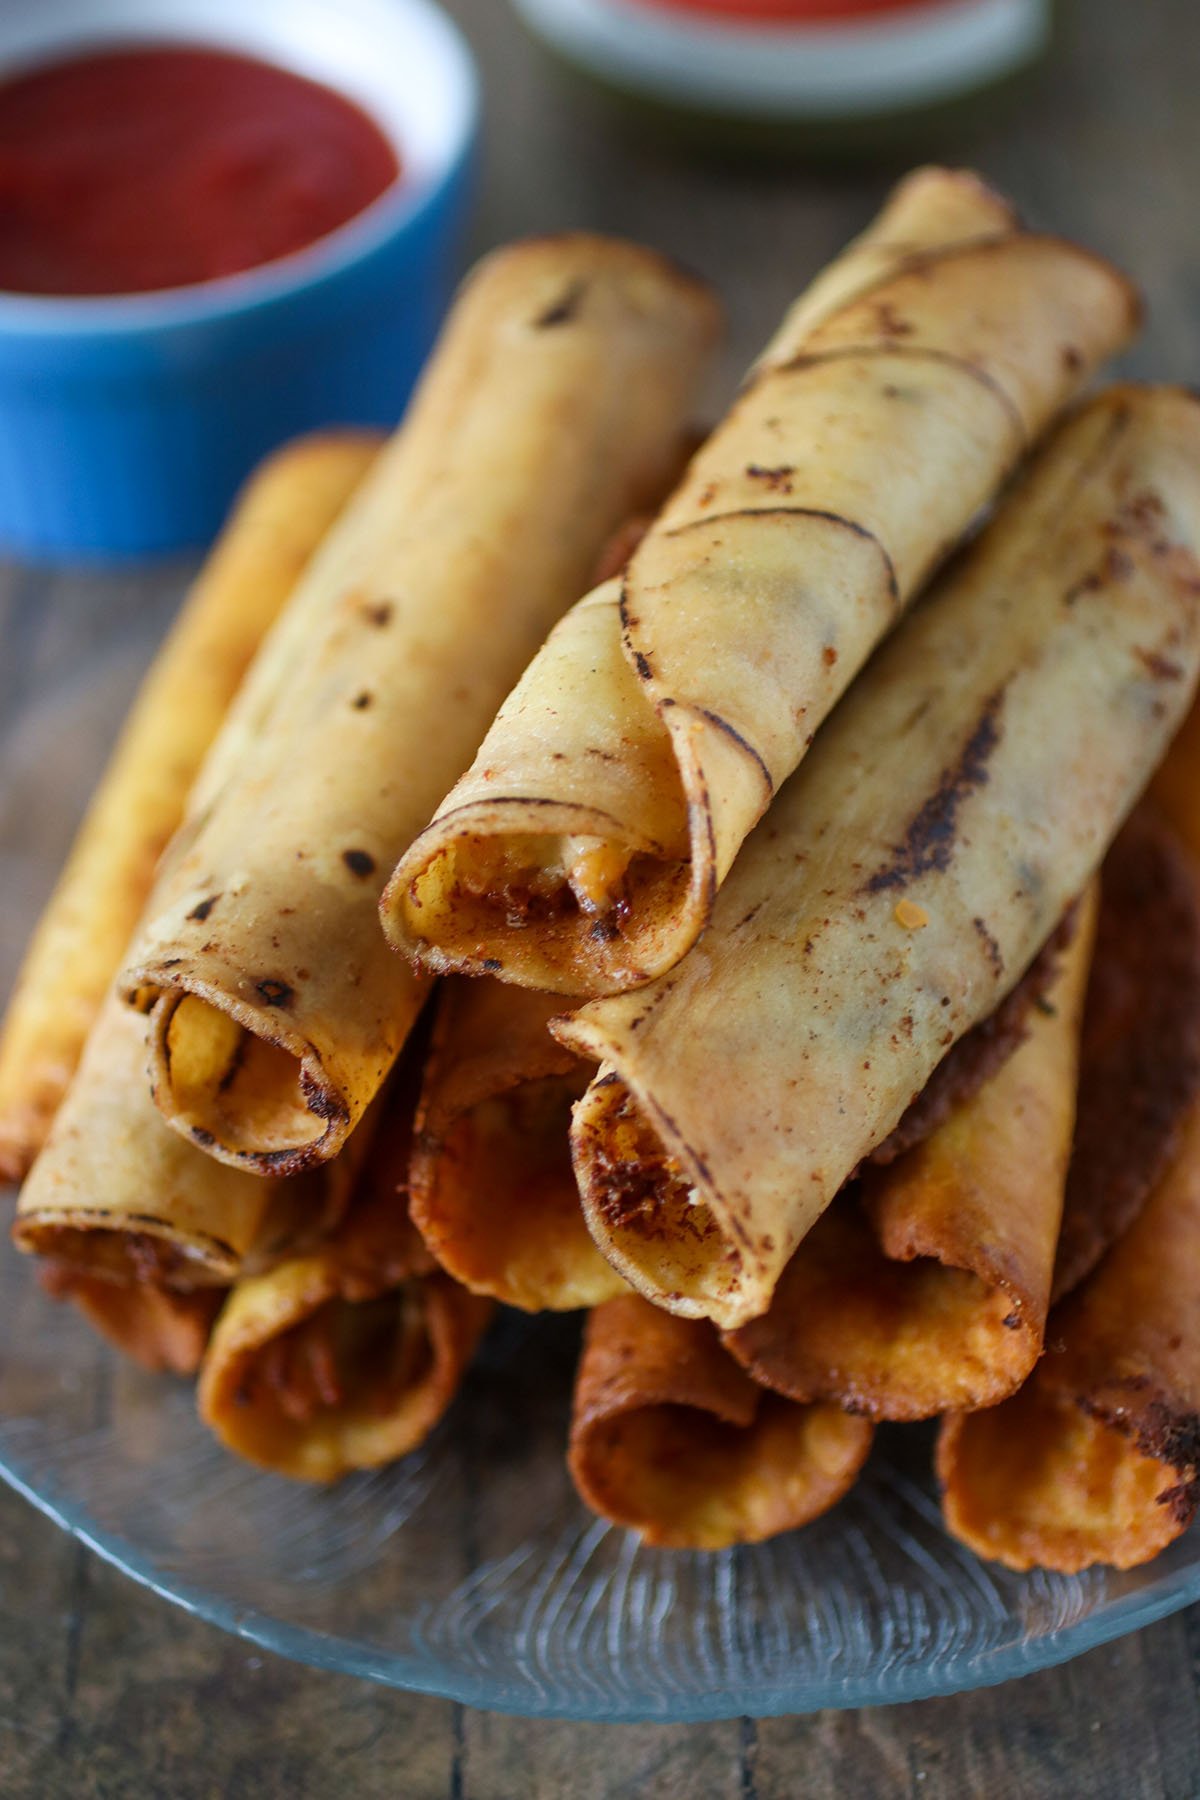
G and I tend to graze on finger foods throughout the day more than proper sit-down dinner meals, so I like to stock up on items I can quickly make when cravings hit.
These cream cheese chicken taquitos are one of our favorite things to keep handy. Stuffed with a mixture of tasty shredded chicken, salsa verde, cream cheese, and shredded cheese and then fried to crisp, golden perfection, they’re a guaranteed crowd-pleaser!
What is a chicken taquito
Chicken taquitos are rolled-up corn tortillas with chicken filling. They are either baked or fried until the inside is heated through and the outside is golden and crunchy.
Taquitos are usually served with dipping sauces such as salsa, sour cream, or guacamole and are commonly enjoyed as an appetizer, snack, or as part of a Mexican-themed meal.
How to Make Shredded Chicken
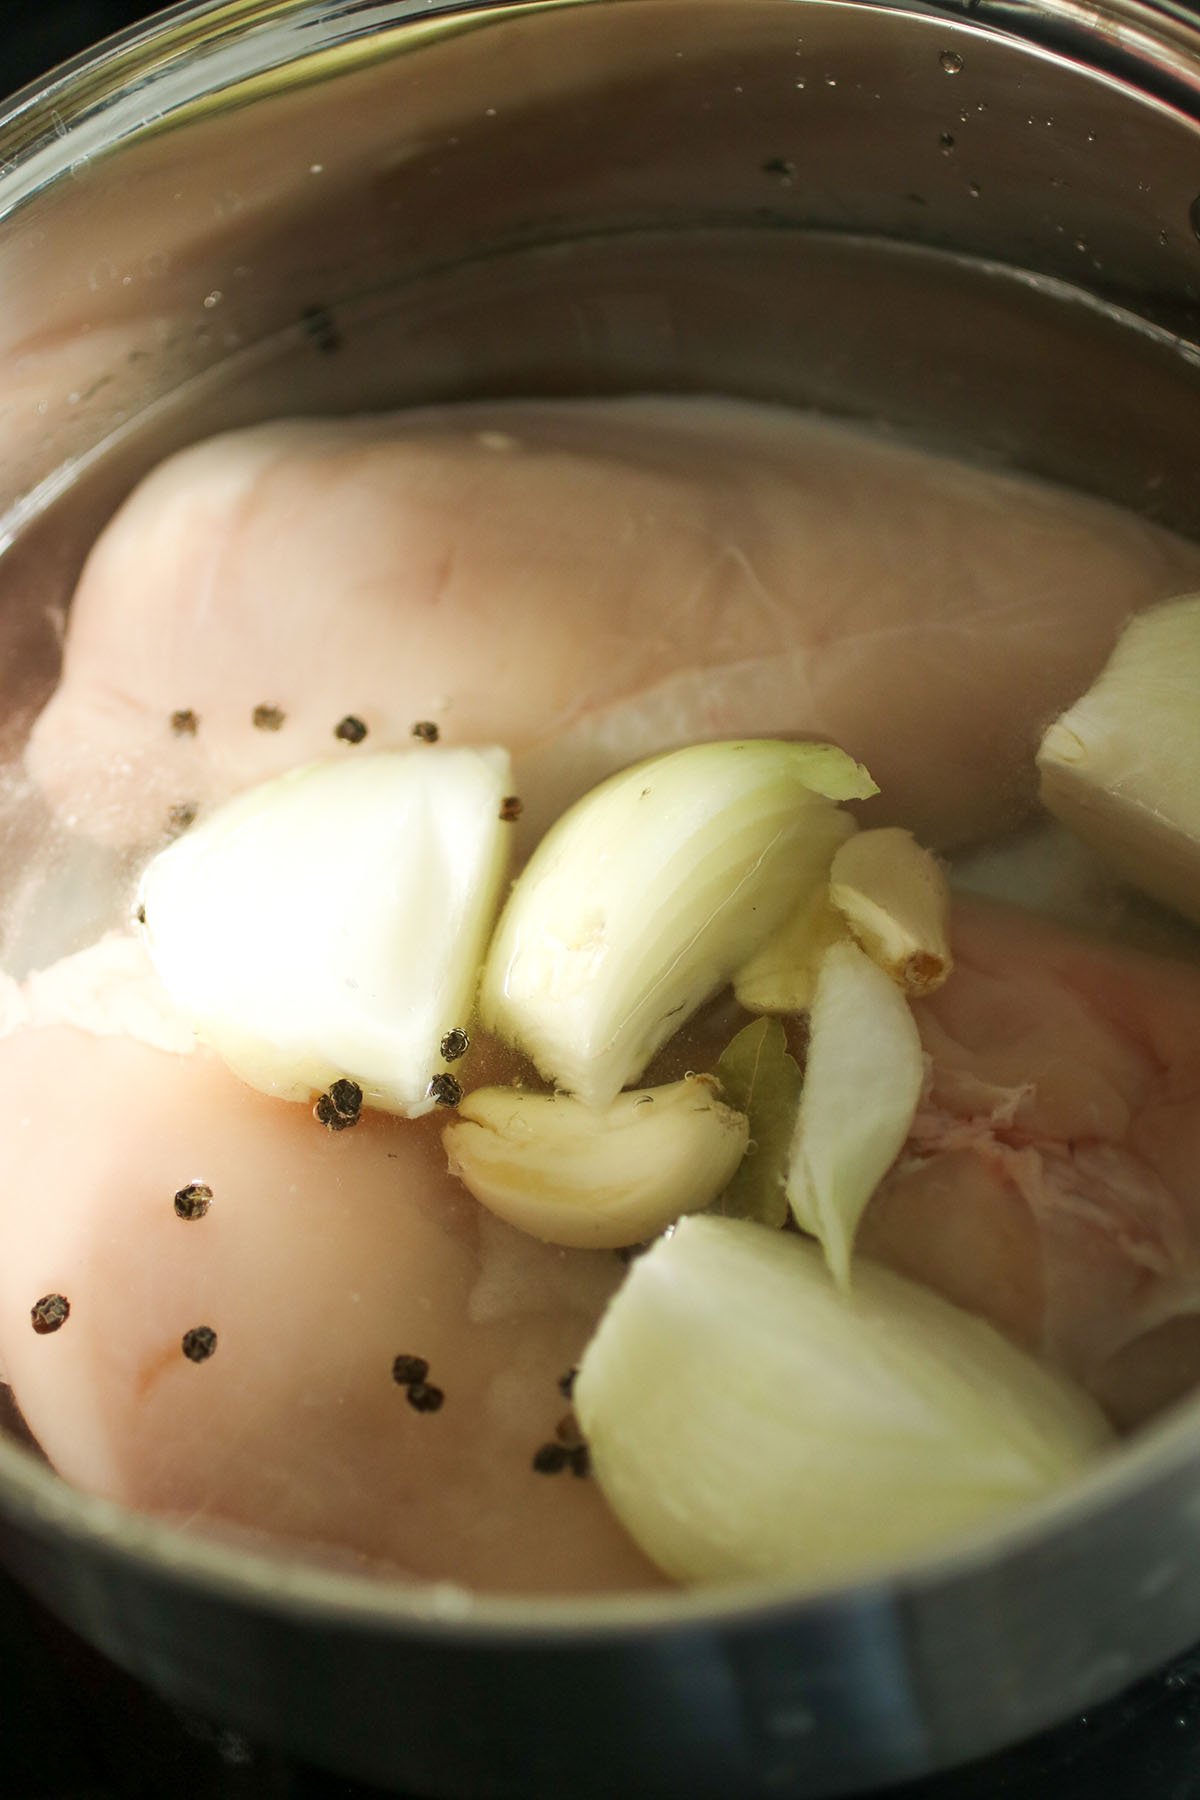
You can use rotisserie or baked chicken if you like, but I prefer to poach the meat to keep it moist and flavorful. Just follow the easy steps below:
- In a small, heavy-bottomed pot, arrange chicken breasts in a single layer. Add one quartered onion, a couple of smashed garlic cloves, bay leaf, about one tablespoon salt, 1/2 teaspoon peppercorns, and enough water to cover.
- Over medium heat, bring to a boil, skimming scum that floats on top. Once the water has come to a boil, lower the heat, cover, and cook at a barely a simmer for about 10 to 15 minutes or until the thermometer inserted in the thickest part of the chicken reads 165 F.
- Using a slotted spoon, remove the chicken from the pot and reserve the broth for soups. Allow the chicken to cool to touch and then coarsely shred.
Cooking tips
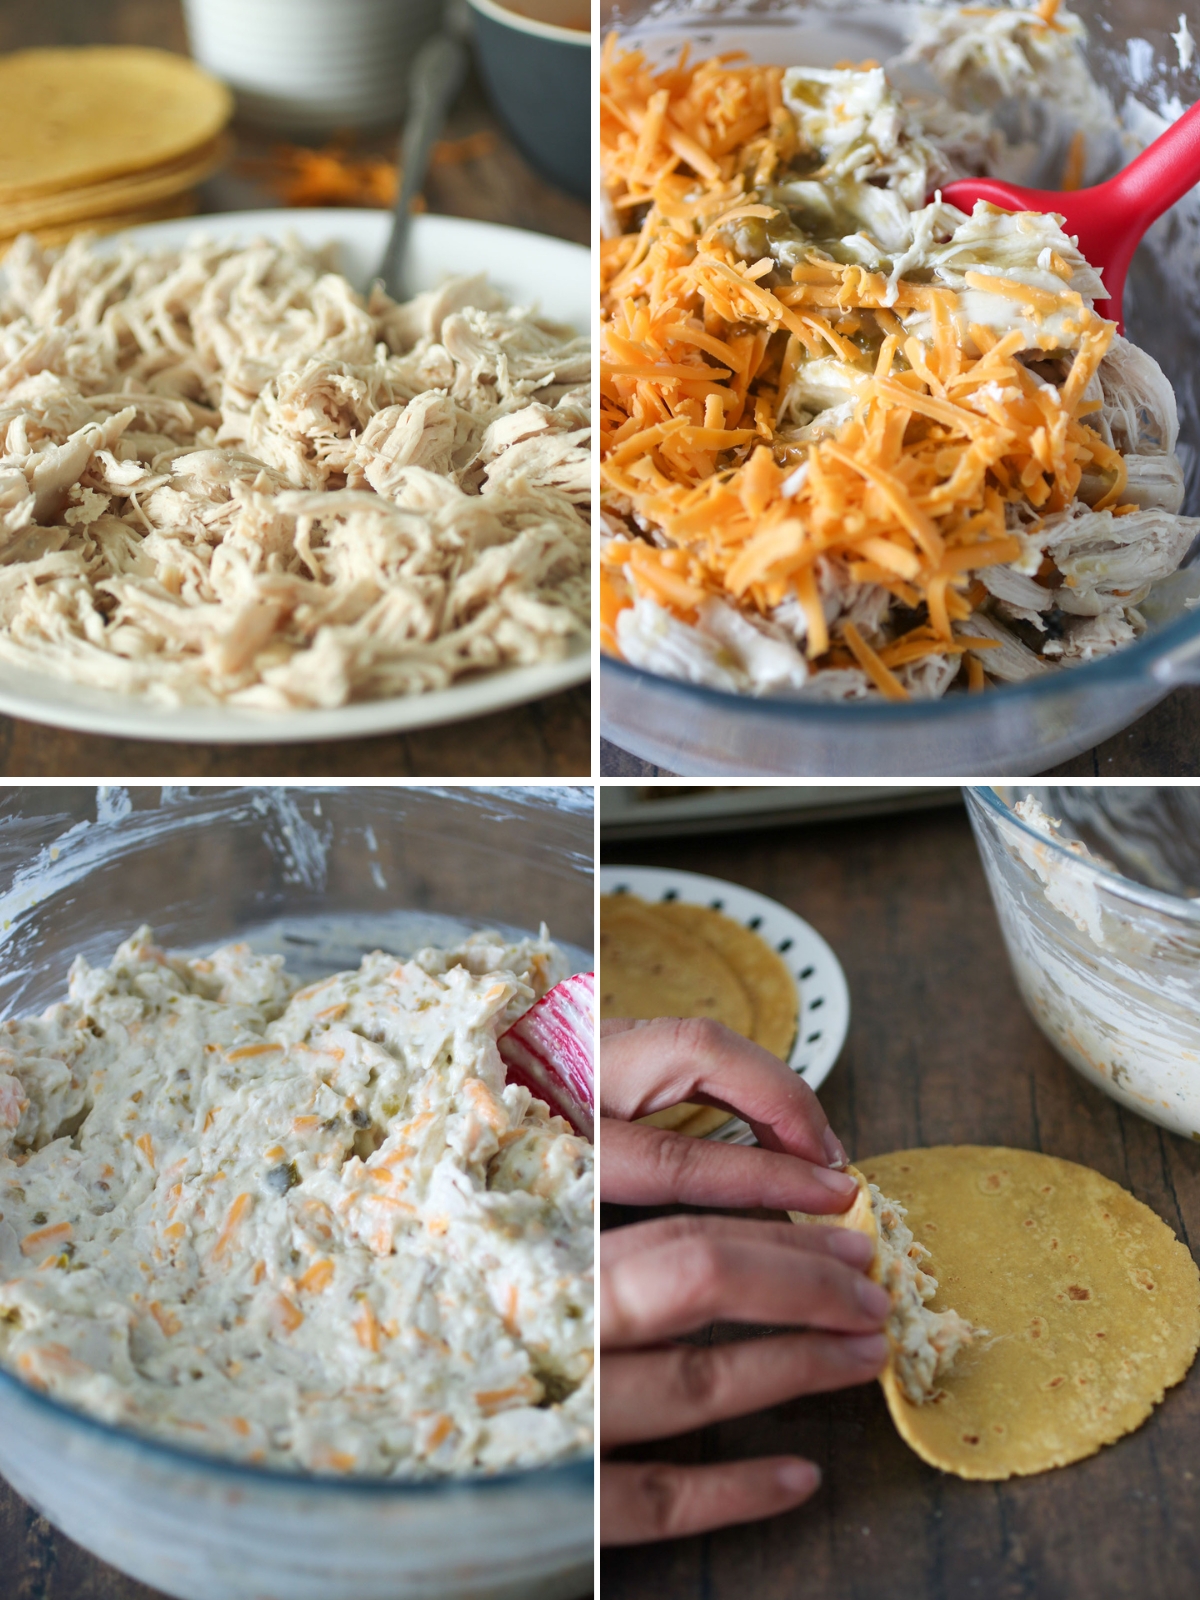
- To keep the corn tortillas from tearing, warm for about 10 to 20 seconds in a hot skillet over medium heat or in the microwave, covered with a damp cloth, for about 20 to 30 seconds until soft and pliable. Keep them in a tortilla warmer or cover them with a cloth to prevent them from drying.
- Whip up the cream cheese just until fluffy so it will be easier to stir with the rest of the ingredients.
- Do not overfill the tortillas so they’ll roll up nice and tight and won’t burst during frying. Secure them with toothpicks and place in the hot oil with the seam side down.
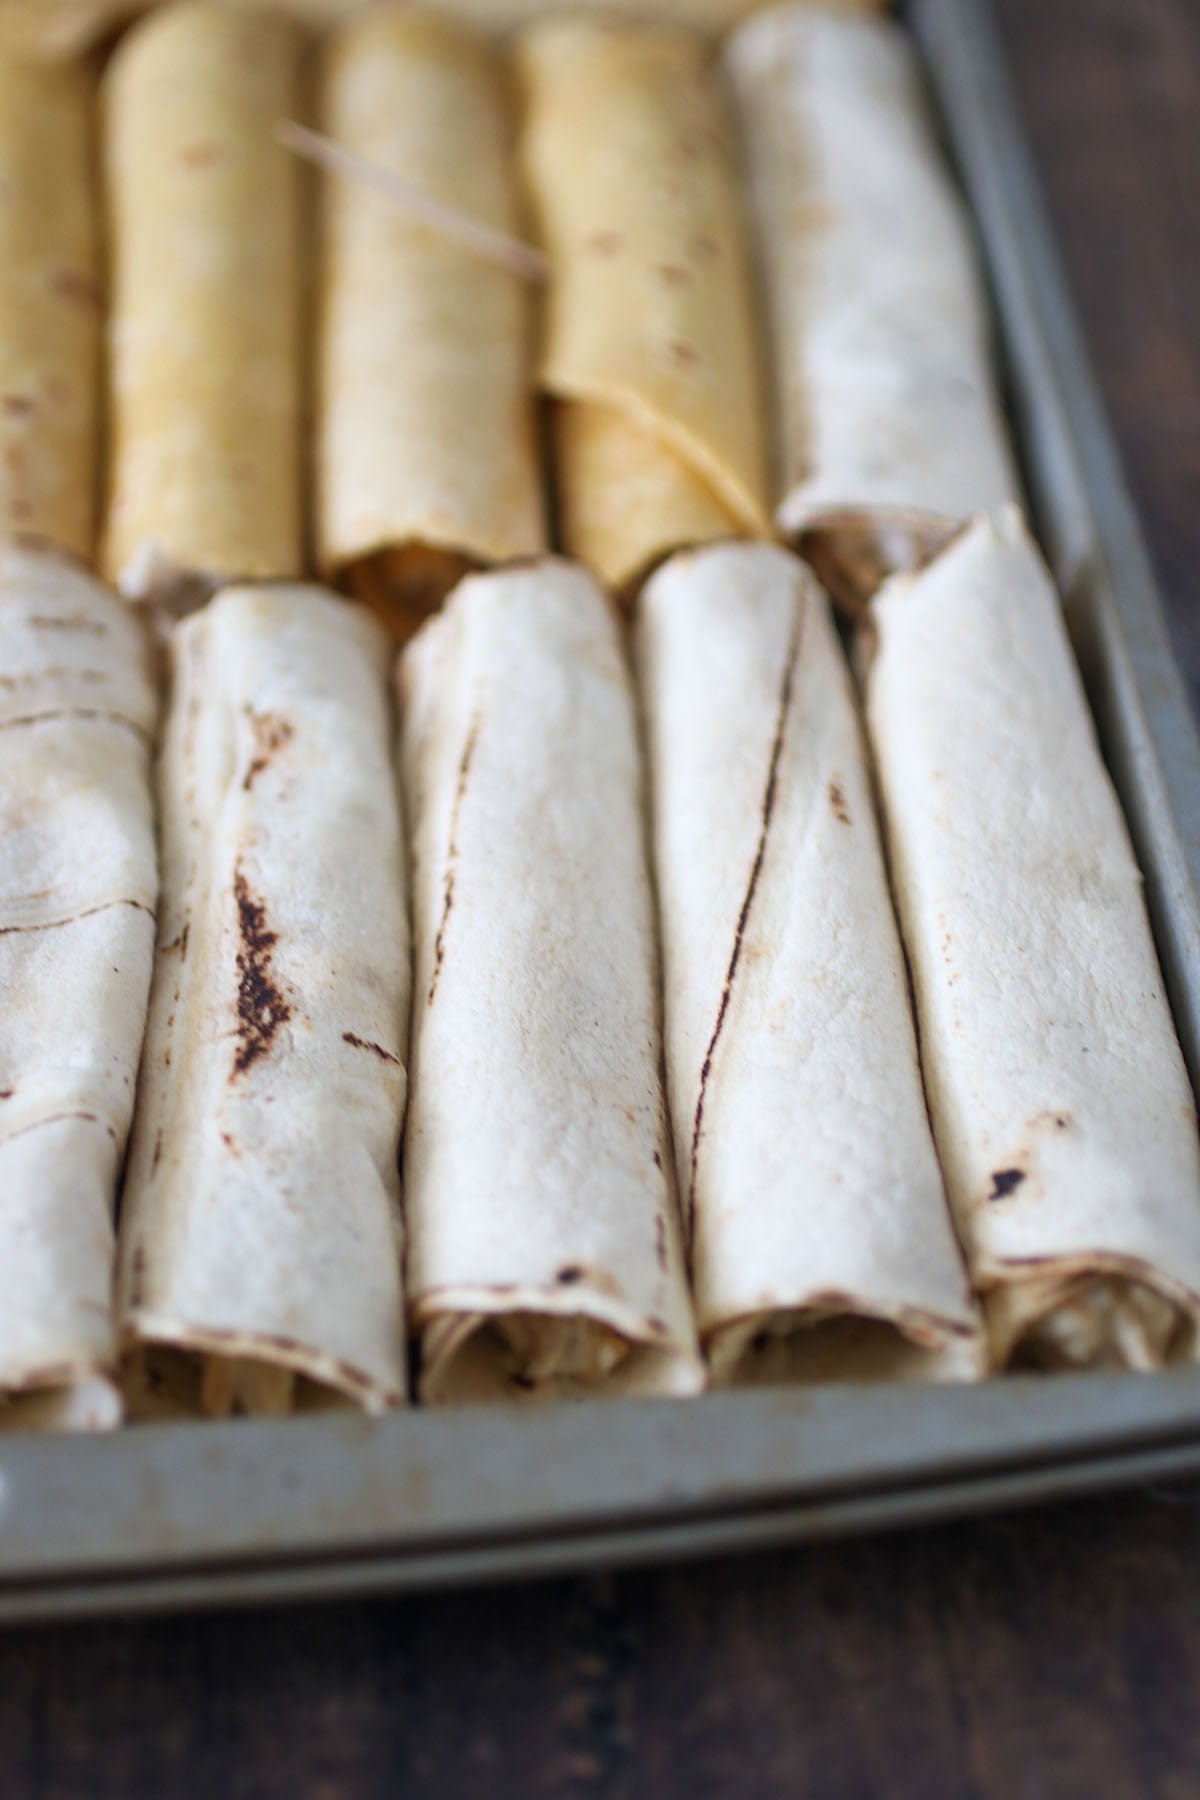
Spend a few hours on the weekend to make a huge batch of these homemade taquitos and thank me later. 🙂 The recipe can be easily doubled (or tripled) and will keep in the freezer for up to three months. They’re perfect for busy weeknights or when guests unexpectedly drop by to visit.
You can fry or bake the frozen taquitos straight from the freezer, so they’re always ready when you are. Or better yet, freeze them after they’re fried or baked, and they’ll take only a minute or so to warm up in the microwave.
Line the rolled tacos in a single layer on a baking sheet, leaving a little space in between so they don’t stick together. Freeze for 10 to 15 minutes or until firm before transferring to resealable bags or airtight containers. This way, they’ll freeze individually, and you can take out what you need without thawing the whole bag.
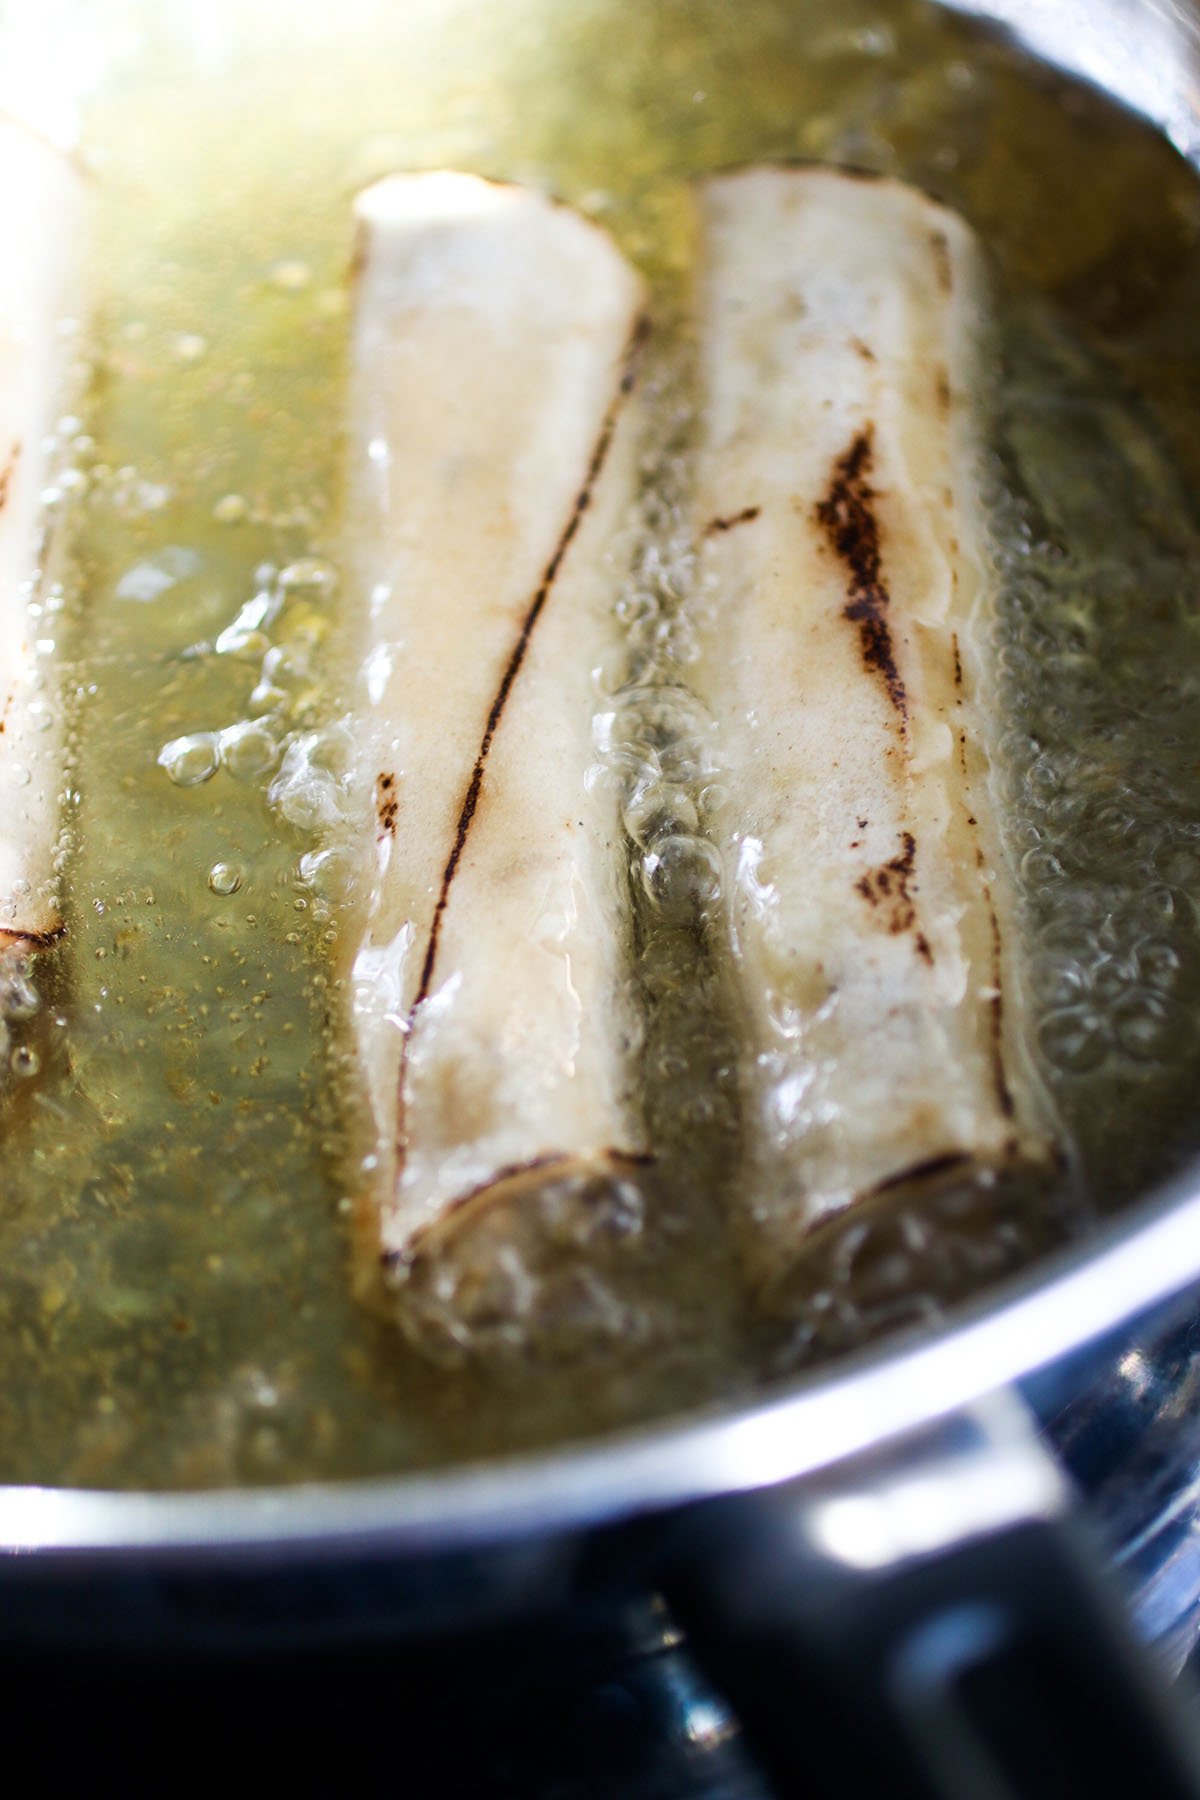
How to fry
- Use enough and the right kind of oil, such as canola or safflower, when deep-frying.
- Fry at the optimal temperature of 350 F to 375 F degrees to ensure a crisp texture. The taquitos will absorb more grease at too low a temperature, and the tortilla will burn at too high.
- Cook in batches as needed, and bring back the temperature to 350 F before frying the next round.
- Drain on a wire rack, not paper towels, as the escaping steam makes them soggy.
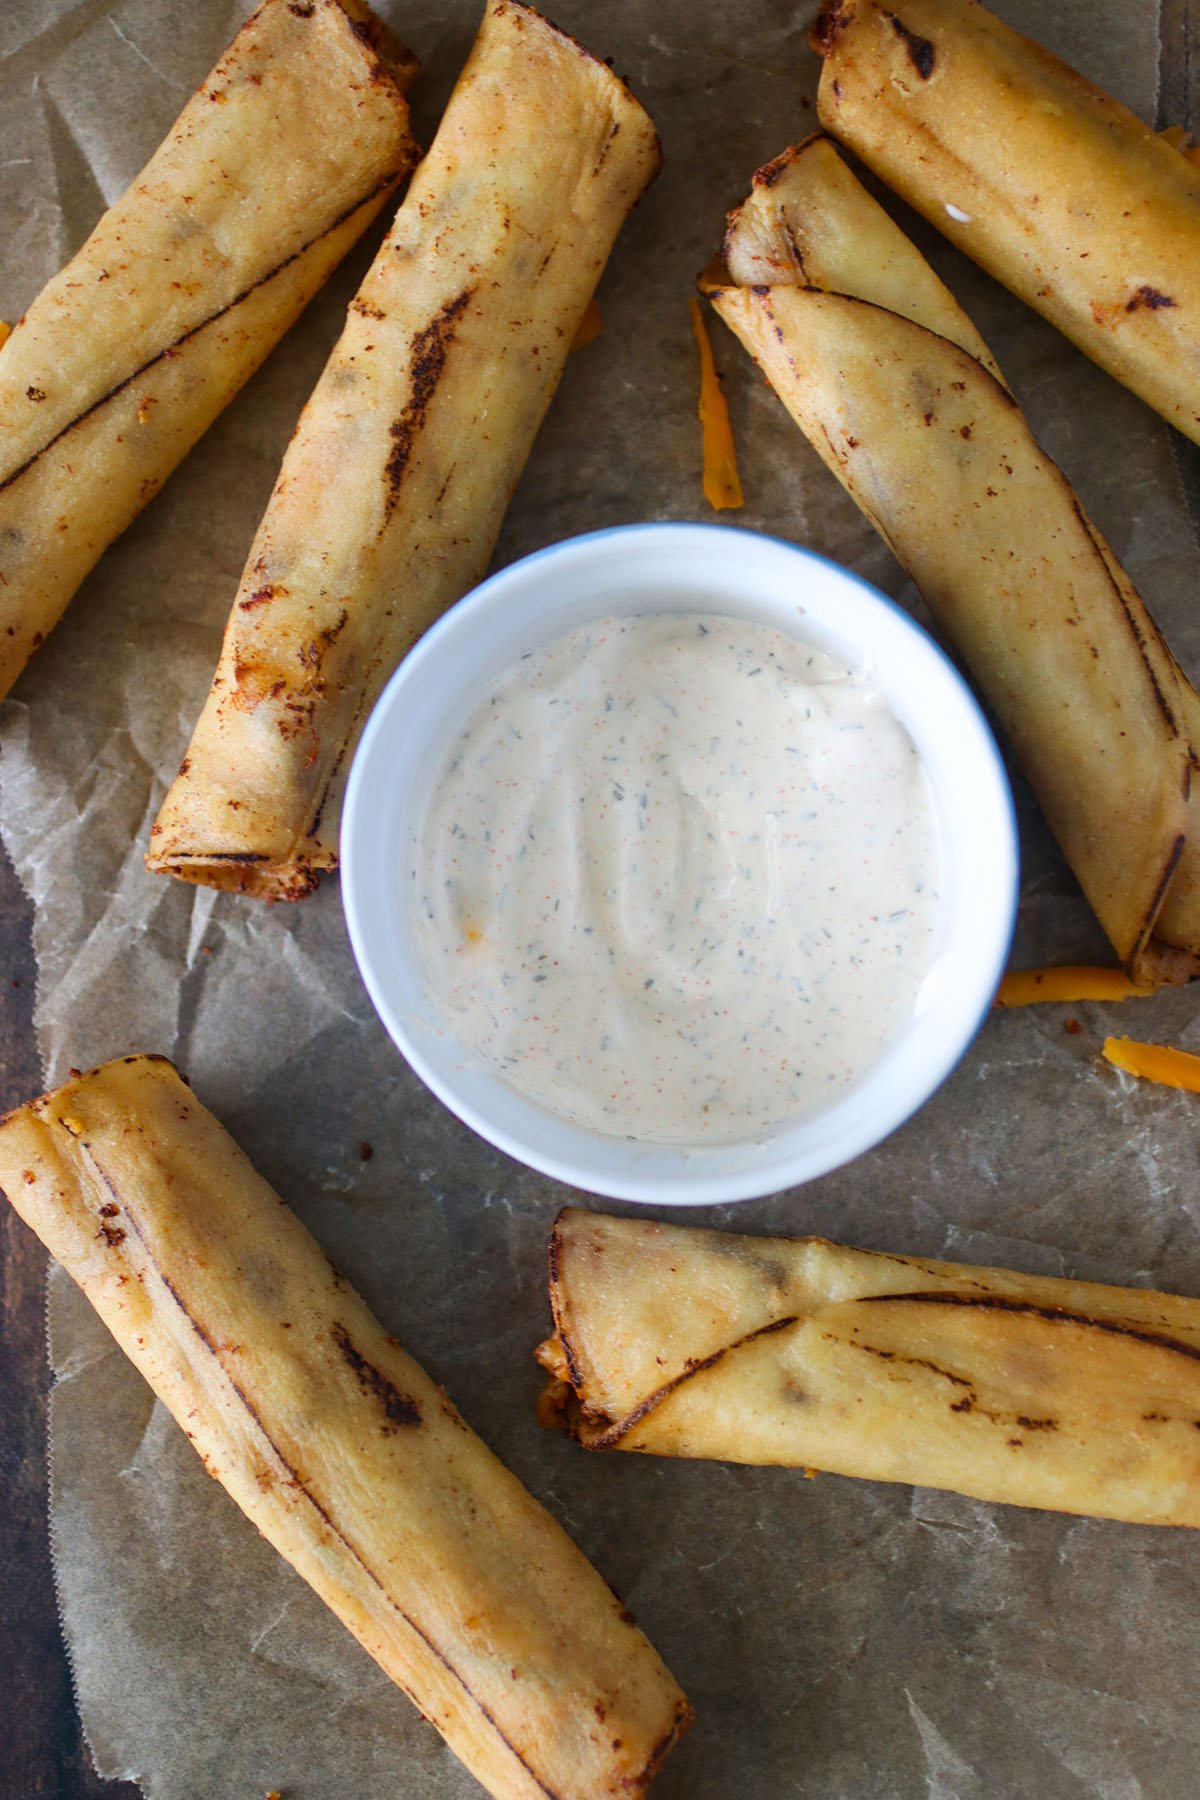
How to bake
You won’t get the BEST texture and color from baking as you would from deep-frying but not having to hassle with splattering hot oil and the extra fat are good trade-offs.
- Arrange the taquitos, seam side down, in a single layer on a rimmed baking sheet.
- Brush with olive oil or spray with nonstick cooking spray to help with browning.
- Bake in a 400 F oven for about 15 to 20 minutes or until crispy.
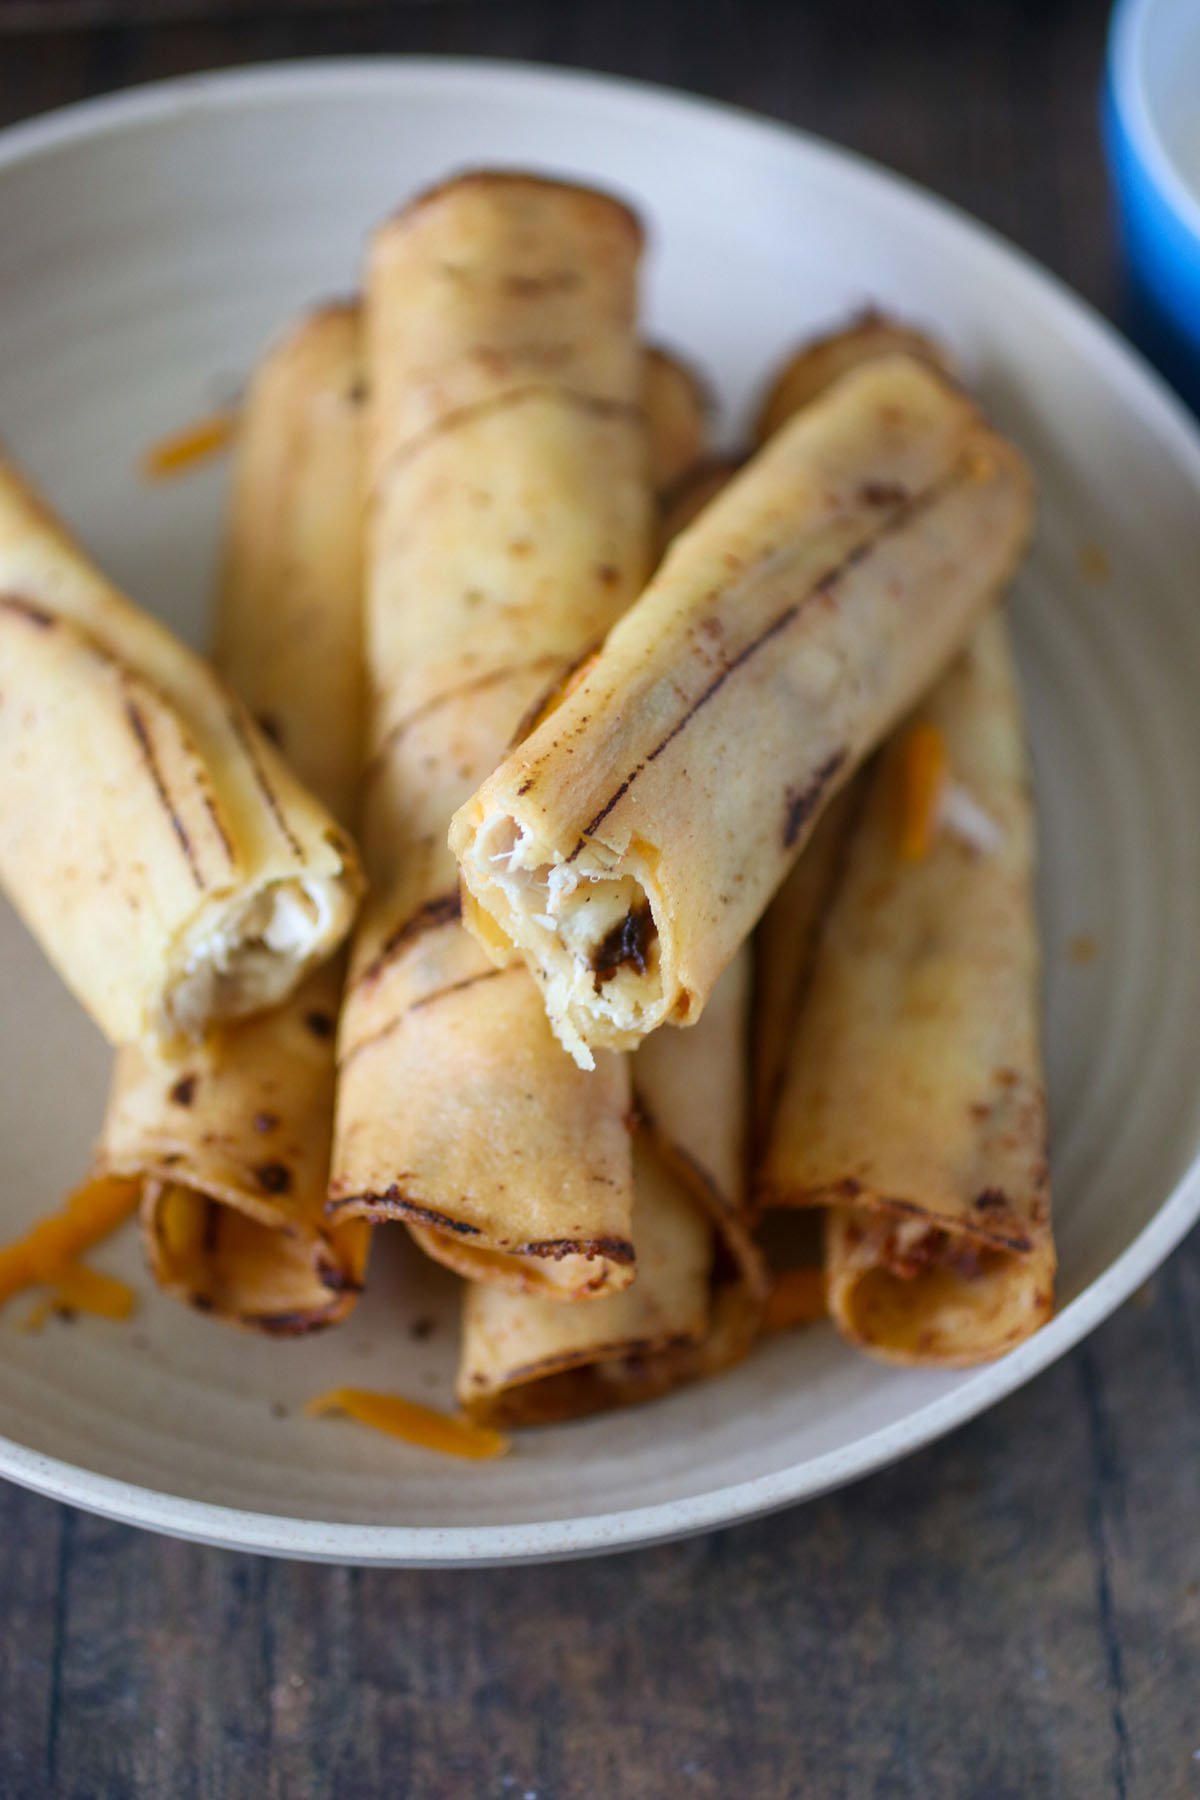
Serving suggestions
Try salsa or this chunky guacamole dip if you’re serving the taquitos as an appetizer or snack. Spanish rice and charro beans are great sides to make them into a hearty meal!
Not in the mood for chicken? This beef version is just as scrumptious. Enjoy!
Ingredients
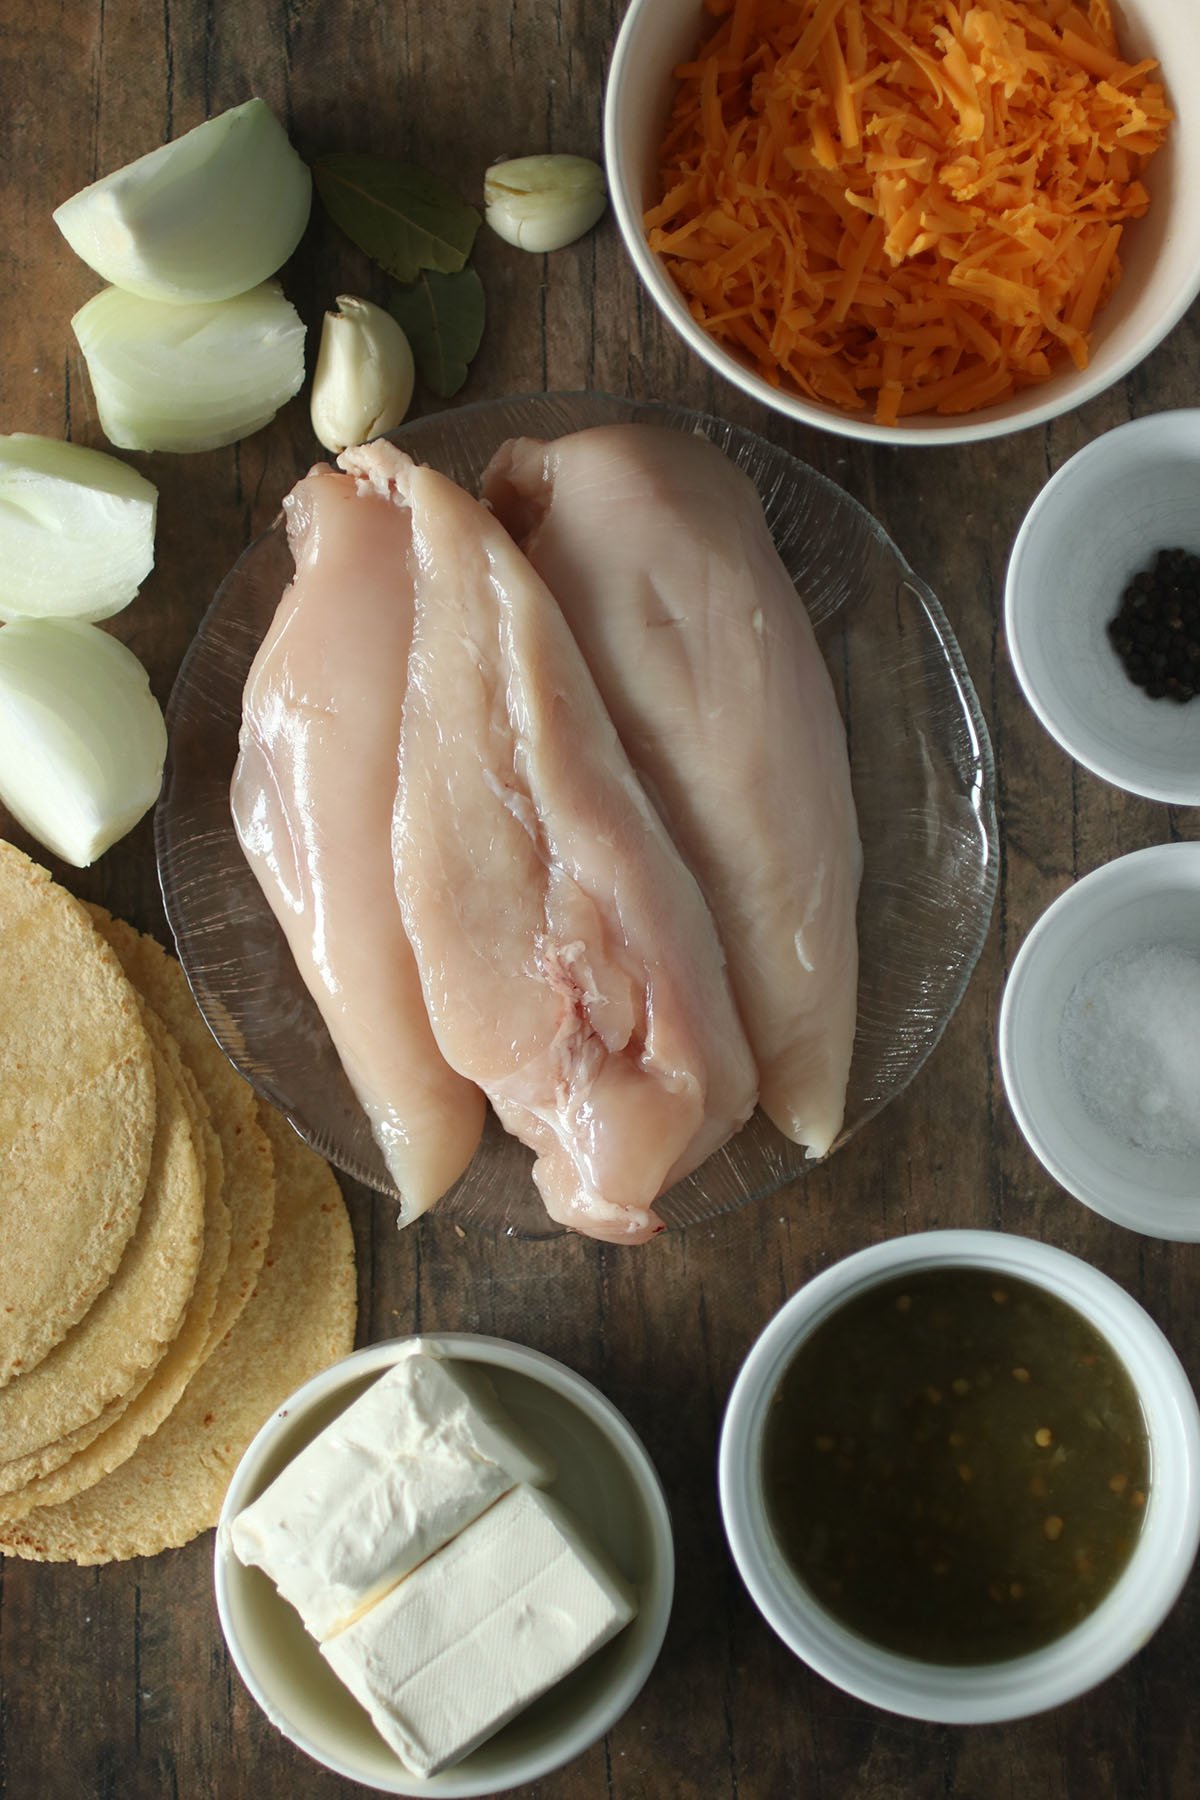
- 2 pounds boneless, skinless chicken breast
- 1 onion, peeled and quartered
- 2 cloves garlic, peeled and crushed
- 1 tablespoon salt
- 1/2 teaspoon peppercorns
- 8 ounces cream cheese, softened
- 1 cup salsa verde
- 1 1/2 cups shredded cheddar
- 18 (6-inch diameter) corn tortillas
- canola oil
Instructions
- In a small, heavy-bottomed pot, arrange chicken breasts in a single layer. Add quartered onion, garlic cloves, bay leaf, salt, peppercorns, and enough water to cover.
- Over medium heat, bring to a boil, skimming scum that floats on top. Once the water has come to a boil, lower heat, cover, and cook in a barely a simmer for about 10 to 15 minutes or until thermometer inserted in the thickest part of chicken reads 165 F.
- Using a slotted spoon, remove chicken from the pot and reserve the broth for soups. Allow the chicken to cool to touch and then coarsely shred.
- In a large bowl, beat the cream cheese until fluffy.
- Add the shredded chicken, salsa verde, and shredded cheese. Stir until well-distributed.
- In a skillet over medium heat, add corn tortilla and heat for about 20 to 30 seconds, turning as needed, until soft and pliable. Or cover the tortillas with a damp cloth and warm in the microwave for about 30 seconds or until pliable.
- Place tortilla on a flat surface and spoon about 1 to 1 1/2 tablespoons of chicken mixture on one end of the tortilla.
- Starting from the end with filling, roll the corn tortilla around the filling into a tight log. Secure seam with toothpicks. Repeat with remaining corn tortillas and chicken mixture.
- In a wide heavy-bottomed skillet over medium heat, heat about 2-inches deep of oil to 350 F.
- Add the prepared taquitos in batches with seam side down and in a single layer. Fry, turning as needed, until golden and crispy.
- Remove from pan and drain on wire rack. Serve immediately.
Notes
Nutrition Information
“This website provides approximate nutrition information for convenience and as a courtesy only. Nutrition data is gathered primarily from the USDA Food Composition Database, whenever available, or otherwise other online calculators.”

Lui Recto says
This is soooo yummy!! I made some using the mild salsa verde. thanks for the recipe! 😘
Lalaine says
I am glad you enjoyed them!